
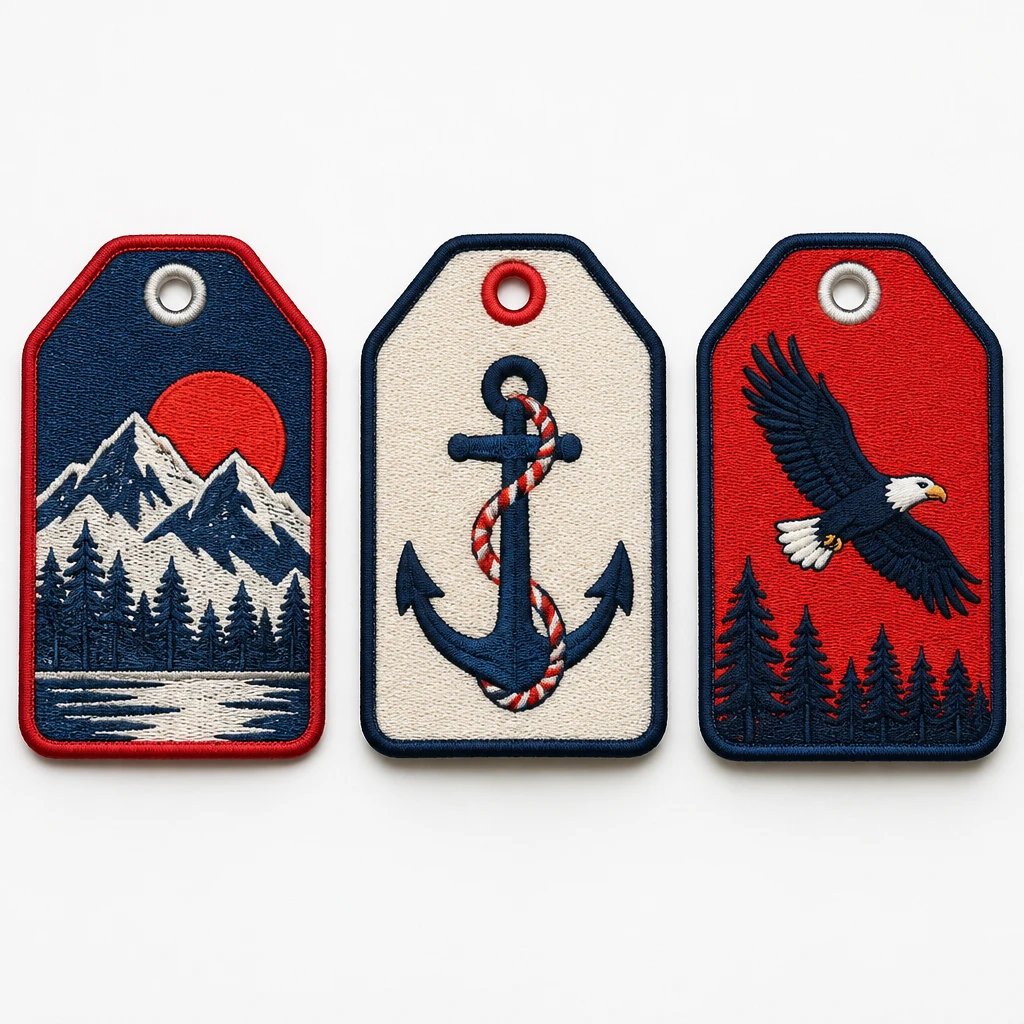
Approving a full patch run that cannot fit the luggage tag is the most expensive sizing mistake. Most luggage patches size mistakes come from measuring the wrong surface, squeezing too much artwork into it, or ignoring the space needed for a border and attachment. Measure the usable area first, then check the finished outline and lettering at actual size before approving production.
A luggage tag patch is a decorative or identifying patch attached to a separate tag body or a luggage surface. That distinction matters: an embroidered patch is not automatically a complete hanging tag, and a patch approved for a suitcase panel may be completely wrong for a flexible tag with a strap slot.
For teams and clubs traveling across the United States, the practical job is usually identification. A member should recognize the right duffel, equipment case, or garment bag without studying a tiny badge. Start with that job. A patch that carries the club name clearly is more useful than a miniature version of every detail in the club's full logo.
Which luggage patches size mistakes can make an entire order unusable?
Sizing a patch to the outside dimensions of a tag, rather than its usable attachment area, can make every piece in the order unsuitable. The patch needs to clear strap slots, seams, address windows, curved edges, and any hardware that moves.
Mistake 1: Treating the whole tag as available space
What it looks like: The patch hangs over the tag edge, covers part of an address window, or sits directly under the strap. Sometimes the patch technically stays inside the outline, but its thick border lands on a raised seam and will not lie flat. On a soft tag, the whole assembly can curl.
Why it happens: Product listings often give the tag's overall width and height. Those measurements describe the object, not the uninterrupted area available for a patch. A rounded corner takes away usable room, and a strap slot can need clearance beyond the opening itself because the strap bends and moves during handling.
For example, a tag listed as 4 inches tall might have a strap slot near the top and a stitched perimeter. A 4-inch-tall patch is not a workable match just because the numbers agree. Trace the area below the slot and inside the raised stitching; that is the surface you actually have to work with.
The fix: Measure the uninterrupted attachment area on the physical tag, with its strap installed, and provide a photograph with a ruler in the same plane. Keep the proposed patch outline clear of every moving part and raised edge rather than sizing it to the tag's catalog dimensions.
How do you keep luggage patch lettering readable?
Set the patch size around the smallest lettering that actually needs to be read. If the available surface will not support that lettering, simplify the design or change the construction instead of shrinking everything equally.
Mistake 2: Reducing a jacket-sized logo without editing it
What it looks like: A club name becomes fuzzy, a small founding date turns into a thread bar, and the open centers of letters close up. The main symbol might still look good, which makes the failure easy to miss on screen. The information around it is the problem.
Why it happens: Thread has physical width. Reducing artwork does not reduce that width in the same way a screen preview reduces a drawn line. Closely spaced letters, narrow gaps, thin outlines, and stacked text compete for limited room. In our production experience, a patch can have acceptable overall dimensions while still carrying far too much information.
For example, a team might want the same crest on a warm-up jacket and a luggage tag. The jacket version can carry a team name, city, mascot, and year. On the tag, I'd keep the mascot and team name, then move the owner's contact details to the tag's address panel. Those are different jobs.
The fix: Remove secondary copy, open up letter spacing where appropriate, and evaluate the smallest remaining text at final dimensions. If fine lettering is essential, ask about woven or printed construction instead of forcing it into embroidery.
If you are starting with embroidery, request a free digital mockup through the embroidered patch options and include the tag's usable measurements. Ask for the smallest lettering and finished border to be shown clearly, not just a large centered logo.
Does the border count toward the finished patch size?
Yes. Finished patch dimensions include the outer border, so the space available for artwork is smaller than the quoted overall size.
Mistake 3: Filling the entire outline with artwork
What it looks like: Lettering feels crowded against the edge, a mascot's ear appears trapped beneath the border, or a narrow ring of background disappears. A design that looked balanced without a border starts to look compressed once the edge treatment is included.
Why it happens: Buyers sometimes treat the requested dimensions as an artwork box, then imagine that the border gets added outside it. A merrowed border is a wrapped thread edge that finishes a patch perimeter. It occupies visible space and adds thickness at the edge, which matters on a small flexible luggage tag.
For example, specifying a 3-inch-wide finished patch does not give the designer a full 3 inches for lettering plus extra room for the edge. Border width, shape, and visual clearance must all fit inside the finished outline. There is no single border allowance that should be assumed for every material and edge treatment.
The fix: Ask the mockup to distinguish the finished outline, border, and interior artwork area. Move important details inward or select a compatible lower-profile edge treatment before increasing the overall size beyond what the tag can hold.
I'd keep a straightforward wrapped border on a simple rectangle when it fits. It is a sensible finish, not a mistake by itself. The mistake is approving the interior layout as though that border takes up no room.
How should you check patch proportions before ordering?
Approve width and height together, then test the outline at actual size. A width alone does not tell you whether a tall crest, horizontal wordmark, or custom contour will fit.
Mistake 4: Approving an enlarged screen image
What it looks like: The patch is much taller than expected, feels too narrow for the tag, or has lettering that looked readable only because the preview filled a monitor. Nothing necessarily went wrong in production. The finished piece can match the approved dimensions exactly and still disappoint.
See your artwork as a custom USA patch before you buy. Free digital mockup in 12 hours — 5-piece minimum per design. We do not produce until you approve.
GET A FREE MOCKUPWhy it happens: Phone screens, browser zoom, and automatic print scaling hide physical size. Custom shapes add another trap: a long point or narrow extension can set the maximum width even though most of the useful artwork occupies a much smaller central area.
For example, a 3-inch-wide horizontal wordmark and a 3-inch-wide shield have very different heights. Stretching the shield to fit the wordmark's opening can distort the artwork. Redrawing the layout for a horizontal space is often the better choice, especially when the original logo includes a tall mascot.
The fix: Confirm both maximum width and maximum height on the approval, including any projecting parts of the shape. Print an actual-size outline, verify it with a ruler, cut it out, and place it on the intended tag before signing off.
A paper template is a fit check, not a material sample. It cannot show thread texture, edge thickness, or how stiff the finished patch will feel, but it catches a surprising amount of avoidable uncertainty before those material questions even matter.
Which patch material works when the luggage tag is small?
Woven or printed patches can be a better choice than embroidery when a small footprint must retain fine detail. Embroidery is the right call when texture and a bold, readable mark matter more than reproducing tiny artwork.
Mistake 5: Enlarging the patch to solve the wrong material choice
What it looks like: The logo finally reads clearly, but the patch dominates the tag, bends around a bag seam, or sticks out beyond its mounting surface. Alternatively, the size stays small and the design loses the detail that made it recognizable.
Why it happens: Size and construction get treated as separate decisions. Embroidered thread creates visible texture, while woven construction uses fine yarns to form the design and printed construction places the image on a surface. Each handles small detail differently. Making embroidery larger is one solution, but it is not useful when the available space is fixed.
| Construction | Sizing advantage | Trade-off on luggage | Practical choice |
|---|---|---|---|
| Embroidered | Works well for bold letters and simplified symbols | Thread texture limits very fine lettering and tight gaps | Team initials, a simple mascot, or a club name |
| Woven | Can preserve finer lines within a compact footprint | Flatter surface lacks the raised stitch texture of embroidery | Compact crests and detailed line artwork |
| Printed | Can retain gradients and small visual details | Image detail still needs to be large enough for people to read | Artwork that depends on shading or multiple fine elements |
The fix: Choose the construction after reviewing the smallest essential detail at the available size. Compare woven patches for compact artwork with a simplified embroidered version before deciding that a larger patch is necessary.
I'd skip embroidery for a tiny design whose main purpose is reproducing a complicated illustration exactly. On the other hand, if a simple embroidered name strip does the job at a lower quoted cost than a more elaborate construction, there is no practical reason to upgrade just to add complexity.
How does the backing change the size you should order?
The attachment method determines which part of the tag or bag can actually support the patch. A patch that fits visually may still be too large for a loop panel, too close to a sewing obstruction, or unsuitable for heat application.
Mistake 6: Choosing dimensions before deciding how to attach the patch
What it looks like: Hook backing extends past its mating loop panel and catches adjacent fabric. A sew-on border sits over a zipper welt. An iron-on patch lifts at a curved edge because the entire footprint never received suitable pressure, or the luggage surface cannot tolerate the required heat.
Why it happens: Backing is left as a last-minute checkbox. Yet a nylon duffel, polyester equipment bag, leather tag, and rigid suitcase shell are not interchangeable attachment surfaces. Coatings, linings, foam layers, and access to the underside all affect installation. A heat-activated backing is not permission to iron every synthetic bag.
For example, a removable patch intended for a 3-inch-wide loop panel must be checked against the actual sewn panel, including rounded corners and any raised perimeter seam. Ordering a patch from the nominal panel width alone can leave exposed hooks or edges that never seat properly.
The fix: Select sew-on, heat-seal, or hook-and-loop attachment before locking the dimensions, then measure the surface that method can actually use. For heat application, confirm the luggage manufacturer's care restrictions and the patch's application requirements rather than guessing from the fabric name.
Sew-on is often the straightforward choice for an accessible fabric panel, but check the inside. Sewing through a lining, into a pocket, or across an opening can create a different problem even when the outside placement looks right.
Can one patch size work across a whole team's luggage?
One size can work if it fits the smallest usable attachment area and remains readable on every bag. Matching the artwork does not require every application to use identical dimensions.
Mistake 7: Measuring only the largest bag
What it looks like: The patch sits comfortably on a checked suitcase but overwhelms a carry-on tag or covers most of a small equipment pouch. A long horizontal design may cross the side seam of a narrow duffel even though it looked balanced on a broad sample bag.
Why it happens: A single bag becomes the reference for an entire club order. Team members may use different tag models, soft bags, molded cases, and garment carriers. Even bags sold in the same collection can have different pocket dimensions or panel construction.
For example, a run club ordering 40 patches might be equipping both compact race bags and larger travel duffels. Before requesting separate sizes, try a simplified common design in the smaller usable footprint. If it remains clear on both, one version avoids extra sorting and makes repeat ordering easier.
Ready to spec type, size, backing, and quantity? Open the quote form for a free 12-hour mockup and USA shipping after approval.
GET A FREE MOCKUPThe fix: Test the proposed outline on each distinct tag or bag model, starting with the smallest usable surface. If one size fails either fit or readability, separate the applications and request quotes for clearly labeled size versions.
Do not assume a combined quantity can be divided among multiple sizes under the same order terms. USA Customized Patches has a 10-piece minimum; confirm how separate size versions will be quoted before deciding how many versions the group needs.
How big should a luggage patch look from a distance?
A luggage identification patch should make its main symbol or name easy to recognize during ordinary handling. It does not need every detail to read across a baggage carousel, and it should not become so large that unsupported edges catch or fold.
Mistake 8: Using extra size instead of clear visual hierarchy
What it looks like: A large patch is still hard to recognize because the logo, club name, slogan, and contact details all compete. On a small tag, the oversized patch makes the tag stiffer and puts more edge near straps and nearby luggage.
Why it happens: Bigger gets confused with clearer. Identification depends on contrast, a distinct silhouette, and one dominant element as well as dimensions. In our production experience, adding size does not rescue a busy layout when every line receives equal emphasis.
For example, a school team might use one bold mascot and a short team name on its bag patch, with individual information kept on a separate luggage tag insert. That arrangement lets the patch identify the group while the insert identifies the owner. No need to force both functions into tiny stitched text.
The fix: Make one symbol or name dominant and remove information that belongs elsewhere. Test recognition with the paper template on the bag, then choose the smallest supported footprint that still performs that identification job.
What should you measure before requesting a luggage patch mockup?
Provide the usable width and height, the proposed finished patch dimensions, and the intended attachment method. A ruler photograph and a short note about the actual bag or tag are more useful than an isolated logo file.
- Identify the receiving surface. State whether this is a separate luggage tag, a nylon duffel panel, a polyester garment bag, or a sewn loop panel. Include the bag or tag model when available.
- Measure the usable footprint in inches. Exclude slots, raised seams, windows, zippers, handles, and areas that curve away from the patch. Measure with straps and removable hardware in their normal positions.
- Record both finished patch dimensions. Label width and height explicitly, and explain whether a pointed or irregular shape is measured at its widest and tallest points.
- List essential artwork. Separate the name or symbol that must remain readable from dates, slogans, and decorative lines that can be removed. Specify intended thread colors and background contrast.
- Choose a backing and border for review. Note whether the patch must be removable and whether the installer can reach the underside of the fabric without sewing a pocket shut.
- Print and place a full-size template. Verify the printed measurements with a ruler, photograph it on the intended surface, and flag any interference before giving written approval.
Have the measurements but not the layout? Send them with your artwork through the patch sizing and quote form for a free digital mockup before production. Include any nearby seam or strap in the photo so the usable area is visible.
What belongs in the final size approval?
The approval should identify the dimensions, construction, border, backing, colors, quantity, and final artwork version. A size discussion in an earlier email is not a substitute for a complete final specification.
USA Customized Patches provides a free digital mockup in about 12 hours. Production starts only after written approval. Before approving, check that the final proof reflects any revisions to the width, height, lettering, or attachment method rather than assuming a requested change carried through.
Typical production takes 7-12 business days after approval. Shipping time is separate, so an event departure date needs to allow for both production and transit. USA Customized Patches ships from Corona, CA, to all 50 states; review the nationwide shipping information when planning delivery.
Quotes are available 24 hours a day, 7 days a week. When comparing quotes in dollars, keep the dimensions, material, border, backing, and quantity consistent. Bigger and denser embroidery can cost more, but a price comparison tells you little if one quote covers a simple sew-on patch and another includes a different construction or attachment system.
What this sizing advice is based on
This advice rests on the patch production process, the digital mockup step, and the dimensions and materials stated in the order specifications. In our production experience, fit errors usually need to be resolved through physical measurements, while crowded artwork needs design or construction changes.
A digital mockup shows the proposed layout, colors, shape, and stated dimensions. It does not prove heat compatibility, reproduce the exact feel of thread, or confirm that a patch can be sewn onto an inaccessible panel. Those questions require the actual luggage specifications and, where appropriate, a material or attachment test.
If you only fix one thing, put a verified actual-size paper outline on the real tag before approving the order. Install the strap, bend the tag as it will bend in use, and check the smallest essential lettering. If the outline fails there, revise the dimensions before any patches are produced.