
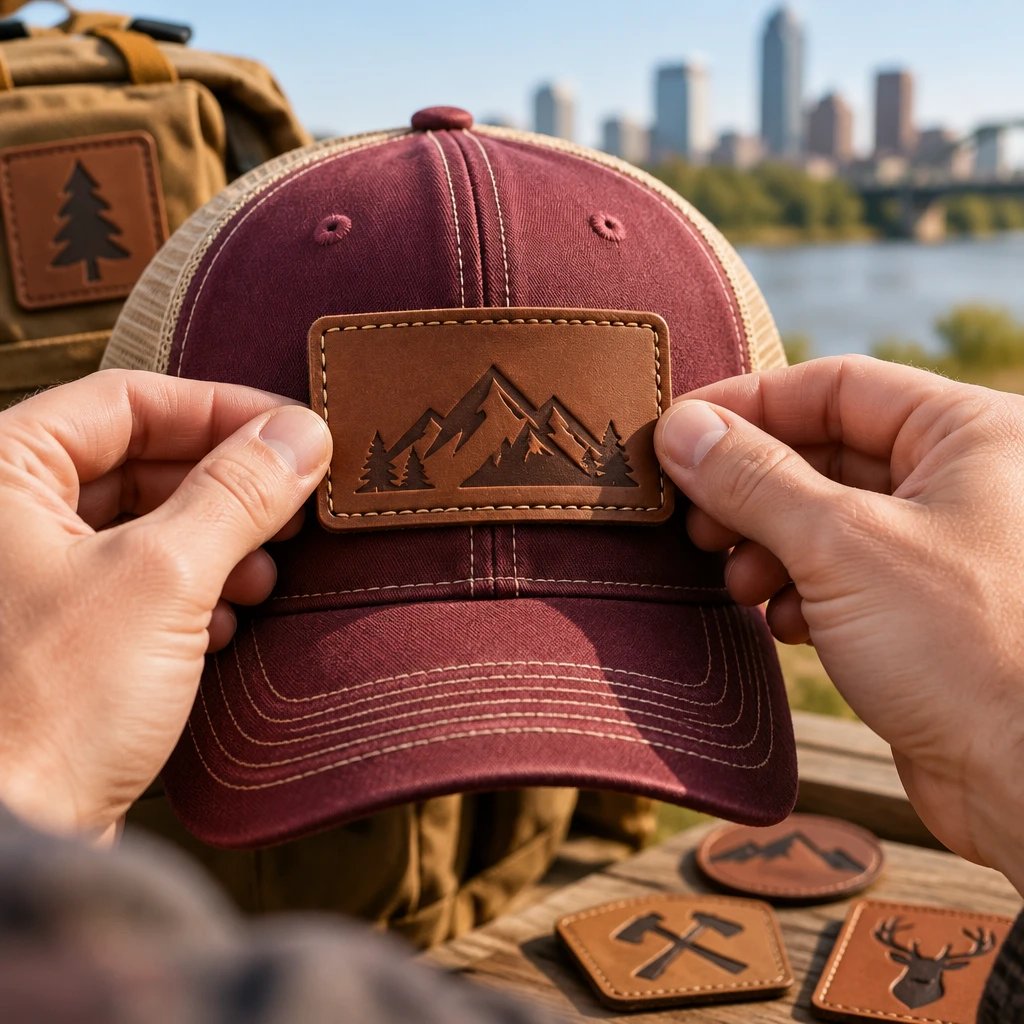
A cap’s center seam can lift the middle of a patch, so Omaha hat patches should be sized to the usable front panel and matched to the hat’s fabric, crown shape and attachment method. Embroidery suits bold team and business logos, woven construction handles finer lettering, and sew-on attachment is usually the practical choice when the cap cannot safely take heat.
Check the cap before sizing the patch
The cap model is the first useful production detail, ahead of the thread colors. A structured trucker cap, an unstructured cotton cap and a stretch performance hat do not offer the same working surface, even when their front panels look similar in a photograph.
A structured crown supports a patch without collapsing as easily. An unstructured crown can wrinkle around a dense emblem because the patch resists bending more than the cloth beneath it. On a five-panel cap, the front may offer an uninterrupted placement area; on a six-panel cap, the center seam needs attention. Neither construction automatically rules out a patch.
The lower edge matters, too. Place a patch too close to the bill and the installer may struggle to reach the perimeter with a sewing foot or seat the crown properly on a heat-press platen. Moving it upward changes the appearance, especially on a low-profile cap. That is a placement decision, not something the digitizer should guess.
For an Omaha, Nebraska, workwear order, send the actual cap model, fabric information and a straight-on photograph if available. A photo taken from above makes the front panel look shorter. The same issue comes up with softball caps, brewery merchandise and volunteer hats throughout the United States.
What size should Omaha hat patches be?
Choose the finished patch size from the usable panel area, leaving room around seams, the bill and the intended attachment line. There is no single correct hat-patch size because crown height, panel shape and artwork proportions vary.
For example, a club might compare a 2.5-inch-wide rectangle with a 3-inch-wide version on the same trucker cap. Those are test sizes, not universal recommendations. The wider version may make the lettering readable but wrap farther around the crown, while the smaller one may sit neatly and lose the club’s secondary wording.
- Measure the usable front panel on the actual cap, following its surface rather than measuring a photograph.
- Mark the intended top, bottom and side limits with removable tape that will not damage the fabric.
- Cut a paper shape at the proposed finished width and height. Include the border in those dimensions.
- Hold the shape against the crown with the cap supported as it would be worn. Check the front and side views.
- Photograph the placement beside a ruler and send the dimensions with the artwork. Note any required gap above the bill.
Paper is only a footprint check. It does not reproduce the stiffness of embroidered twill, leather or polyvinyl chloride. Still, it catches a surprisingly common problem: approving a size that fits the drawing but crowds the cap.
Square artwork needs particular care. A square and a wide rectangle can share the same width while using very different amounts of crown height. If the logo includes a tall badge outline, start with the available height and work backward to the width. Don’t flatten the logo just to make it fit.
Choose the material from the smallest important detail
The smallest detail that must remain readable should drive the material choice. Embroidery is the right call for bold shapes and visible thread texture; finer text, gradients and unusually flexible requirements may point elsewhere.
An embroidered patch is a fabric emblem that uses stitched thread to build a design on a base such as polyester twill. A woven patch is a textile emblem that forms its design with interlaced fine yarns. That difference matters when an Omaha business wants both a large symbol and a small service description on the front of a cap.
| Patch style | Good fit for a hat | Production trade-off | Attachment note |
|---|---|---|---|
| Embroidered | Bold company marks, team initials and club badges | Thread gives texture, but tiny counters and narrow gaps can close | Sew-on is versatile; iron-on requires a compatible cap and application setup |
| Woven | Small lettering and compact line art | A flatter face preserves finer detail but has less raised texture | Keep the edge accessible for stitching or specify a compatible heat backing |
| Printed | Gradients, illustrations and artwork with many color transitions | Preserves tonal artwork without reproducing the relief of stitched thread | Backing and application temperature must suit the cap and printed construction |
| Polyvinyl chloride (PVC) | Raised, molded logos for outdoor or utility styling | Relief is distinct, but thickness can make a small curved crown harder to fit | Discuss a sewing channel or hook-and-loop configuration before approving the shape |
| Leather or synthetic leather | Simple wordmarks and restrained workwear branding | Fine marks need testing for contrast; natural leather can vary in grain and tone | Confirm the specific material, thickness and permitted attachment method |
| Chenille | Large varsity letters and broad club symbols | Pile adds bulk and is poorly suited to small wording | The finished edge and attachment line need space on the crown |
For a straightforward business logo, I’d start with embroidered hat patches rather than adding a specialty material without a reason. Send the cap model and proposed dimensions for a free digital mockup before settling on the size. That gives the artwork review a real surface to work against.
If a ring of small lettering is essential, woven patches for detailed logos may be the better choice. Trying to force that lettering into embroidery can mean enlarging the patch, removing words or changing the typeface. None of those is automatically wrong, but the owner of the logo needs to choose.
What the digitizer changes before stitching
The digitizer converts approved artwork into stitch instructions, not just a different file extension. Stitch direction, underlay, sequence and compensation all affect how the design holds its shape on fabric.
Underlay is supporting stitching that stabilizes the visible stitches above it. Without appropriate support, narrow letters can sink into the base or become uneven. Too much stitching creates a different problem: a hard, crowded area that does not bend comfortably with the cap.
Thread also pulls on fabric as it is sewn. A circle on the screen does not automatically remain a clean circle after stitching. The digitized file accounts for that behavior, and the stitcher watches for distortion, gaps between color areas and borders that no longer meet the design cleanly.
Small lettering is the usual trouble spot. Open spaces inside letters need to remain open, and adjacent strokes need enough separation to look like letters rather than one bar of thread. In our production experience, simplifying a tiny slogan often improves a hat patch more than increasing stitch density.
See your artwork as a custom USA patch before you buy. Free digital mockup in 12 hours — 5-piece minimum per design. We do not produce until you approve.
GET A FREE MOCKUPFor example, a landscaping business might keep its main name on the cap and move a service list to a jacket patch. That is not losing information accidentally. It is assigning information to a surface large enough to carry it. A cap logo has to work at actual size, not only when enlarged on a monitor.
Leave room for the border
The border is part of the finished patch size and uses some of the available design area. Choose it alongside the shape, rather than treating it as decoration added after the logo is fitted.
A merrowed border is an overlocked thread edge that wraps around the perimeter of a patch. It gives simple circles, ovals and rectangles a substantial finished outline. Tight inside corners and intricate cutouts are less suited to that construction because the wrapped edge needs room to travel.
A cut edge can follow a more detailed outline, with the appropriate finishing method selected for the material. Synthetic fabric edges may be heat sealed to limit fraying. That does not mean every patch material can use the same cutting temperature or edge treatment.
For example, on a 3-inch-wide badge, the approved width should describe the whole badge, including its border. If the artwork nearly touches that outer limit, the finisher has no useful margin. Pulling the design inward may be necessary, and that can make already-small text smaller.
I’d skip a complicated silhouette when a simple rounded rectangle communicates the same logo. It is easier to position, leaves a more predictable attachment path and avoids fragile-looking projections. Use a custom outline when the outline is genuinely part of the mark.
Sew-on or iron-on for a curved hat?
Sew-on attachment is usually the safer starting point for mixed cap styles or uncertain heat compatibility. Iron-on backing can work well when the hat tolerates the application conditions and the equipment provides even pressure over the entire patch.
An iron-on backing is a heat-activated adhesive layer that bonds a patch to a compatible surface under specified heat, pressure and dwell time. The cap’s care label alone may not establish compatibility. Coatings, foam fronts, plastic components and nearby trim can change what the finished hat tolerates.
A household iron is a poor default for a structured crown. The bill interrupts access, the crown curves away from the hot surface and the center seam may prevent consistent contact. Pressing harder in the middle does not prove the corners bonded. Follow the application instructions supplied for the actual backing and test a spare compatible cap.
Sewing avoids heat-related damage, but access still matters. The installer needs to reach the perimeter without accidentally catching parts of the sweatband or distorting the crown. Dense thread coverage near the edge can also make the sewing route less forgiving.
A sew-on patch without an added heat backing can be enough for a cotton work cap when a capable installer is already sewing the order. Paying for adhesive that will never be used adds no practical benefit. Ask about the total installed cost, though, because attachment labor belongs in the budget alongside the patches.
Hook-and-loop backing serves a different purpose: removal and replacement. It needs a compatible mating panel on the cap, and both layers add thickness. Temporary peel-and-stick adhesive is useful for positioning or short-term display, not a substitute for a durable attachment method on a repeatedly worn work hat.
Check color and coverage at actual size
Approve thread colors and the amount of exposed base fabric together. A patch with visible twill can look clean and deliberate; full thread coverage is not automatically an improvement.
On a navy cap, a navy patch base can make the emblem feel integrated with the hat. It can also hide the outside shape unless the border provides contrast. A light border separates the patch visually, but it will be more noticeable if the placement tilts.
Digital colors are references, not physical thread samples. Screen brightness, thread sheen and stitch direction affect the apparent color. If a brand requires a close match, identify the color standard and ask how the available thread or material will be matched before approval.
Full embroidery covers more of the base with thread, which changes texture, stiffness and production work. For a simple outline logo, an exposed twill background may do the job at a lower quoted cost. I'd keep it unless the design specifically needs a stitched background. More thread is not a quality measurement by itself.
What belongs in the mockup approval?
Approve the finished dimensions, artwork, material, border, colors and backing in writing before production begins. A digital mockup is a layout proof that shows the proposed design and specifications; it is not a physical sample of stiffness, texture or fit.
USA Customized Patches has a 10-piece minimum. A free digital mockup is provided in about 12 hours, and production starts only after written approval. Quote requests are accepted 24 hours a day, 7 days a week.
Ready to spec type, size, backing, and quantity? Open the quote form for a free 12-hour mockup and USA shipping after approval.
GET A FREE MOCKUP- Confirm the artwork version. Check spelling, dates, abbreviations and any small text around the outside.
- Read the finished width and height. Make sure the border is included and the units are inches.
- Verify the material and edge construction. A woven proof and an embroidered proof can look similar on screen while producing different surfaces.
- Check the color references and identify any exposed base fabric. Do not assume every background area will be stitched.
- Confirm the backing and attachment plan. State whether the quote covers loose patches or any separately agreed installation work.
- Verify the quantity, delivery address and needed-in-hand date. Give written approval only when the specifications match the intended order.
A request to enlarge the lettering may require more than resizing one line. The surrounding ring, border clearance and overall dimensions may need adjustment. That is why a revision should be reviewed as a complete proof rather than approved from a short message saying the text changed.
If the dimensions are still unsettled, send the cap information and artwork through the patch artwork and quote form for a free digital mockup. Ask to see the finished measurements clearly marked. It is easier to correct a crowded layout there than after stitching.
What happens between approval and packing?
After approval, production follows the specified construction, then the patches are finished and checked against the order details. The sequence differs by material, but dimensions, readable artwork, edge quality and backing remain practical inspection points.
For embroidered patches, the approved design moves into stitch preparation and sewing. The stitcher watches the relationship between the thread and base fabric: puckering, loose loops, unintended gaps and registration between color areas. A file can be correct in principle and still require production attention as fabric and thread behave under tension.
Finishing includes the specified edge treatment and backing steps in the sequence appropriate to the construction. Loose thread ends need attention. A cut outline should follow the approved shape, and an applied backing should not create an unintended overhang.
The last review is not just about appearance. Quantity, design version and backing type need to match the order. A clean-looking patch with the wrong backing still creates an installation problem. If several designs or color versions share a shipment, identify them clearly in the order specifications so packing does not depend on someone remembering an email.
What changes the quote and delivery schedule?
Patch size, material, quantity, artwork complexity, coverage, border and backing all affect the quote. The delivery schedule also depends on approval timing and transit, so an event date should be stated before production is booked.
Request the quote in US dollars with the relevant costs identified: patches, setup if applicable, shipping and any agreed attachment work. There is no useful single price for a custom hat patch without those specifications. A small, dense embroidered design can involve more production work than a larger design with substantial exposed twill.
For example, a run club ordering 40 patches should state whether all 40 share one design or contain separate versions. Different names, numbers or artwork are not merely a packing detail. They can change preparation, production grouping and the quoted cost.
Typical production timing is 7–12 business days after written approval. Confirm the schedule for the actual specifications and allow for transit rather than treating the production window as a promised arrival date. Artwork revisions and cap installation, if handled separately, need their own space on the calendar.
USA Customized Patches ships from Corona, California, to Omaha and all 50 states. Review the nationwide patch shipping information when planning the receiving address and delivery window. A shipping origin identifies where the shipment leaves from; it does not, by itself, establish where every production step occurred.
What this advice is based on
These recommendations rest on general patch-production realities, the digital mockup step and the specifications approved for each order. They are not claims about a named customer, a particular machine or a tested performance result.
In our production experience, the most useful early checks are the ones that connect the drawing to the garment: actual dimensions, readable lettering, edge clearance and a workable attachment method. The mockup documents the intended result, while the cap information establishes constraints that a flat artwork file cannot show.
Before approving an Omaha cap order, write the exact hat model and the attachment plan beside the finished patch dimensions. If any of those three items is still unknown, resolve it before releasing the design for production.