
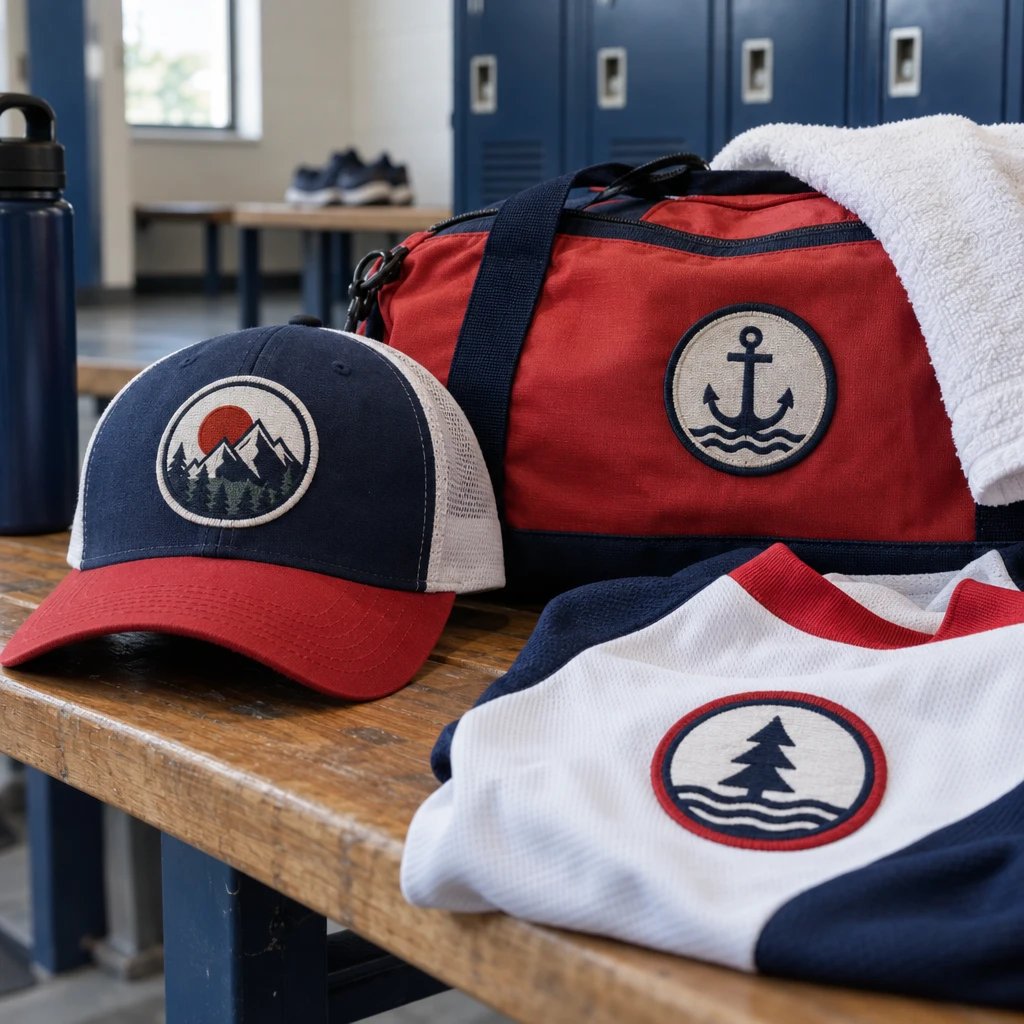
For custom patch ideas churches and nonprofits can put to work, start with volunteer role badges, outreach bag emblems, service recognition patches, and supporter merchandise. Choose the garment before you choose the artwork size; the first mistake is treating a small patch like a flyer that must carry every message. A clear symbol and a readable name usually do more than a crowded mission statement.
Choose custom patch ideas churches and nonprofits can use repeatedly
Give each patch one main job: identify someone, recognize service, or represent the organization. Then build the order around that job rather than combining all three into one small design.
A welcome-team patch needs to help a visitor find assistance. A service-trip patch belongs on a jacket or keepsake bag and can carry more symbolism. A supporter patch should look good on an everyday cap, even when the person wearing it is nowhere near your event. Those are different briefs. You can share a symbol across them without forcing identical wording or dimensions.
Work through the decisions below in order. Each one sets a specification the next person handling the order needs, from the artwork reviewer to the volunteer sewing patches onto canvas totes.
- Decide the purpose. Specify the primary use as volunteer identification, program identity, service recognition, or supporter merchandise. The reason is practical: the purpose determines which wording must remain readable and which details you can leave out.
- Decide the garment and placement. Specify the actual cap, polo, jacket, vest, or bag, along with the usable placement area in inches. This prevents an attractive drawing from becoming a patch that crosses a seam or crowds a pocket.
- Decide the message. Specify one dominant symbol, the essential organization or program name, and any role or year. Establish that hierarchy before selecting a material because small lettering may require woven construction instead of raised embroidery.
- Decide the construction. Specify embroidered, woven, printed, or molded polyvinyl chloride material, plus the finished shape and border. The reason is to match detail, texture, flexibility, and edge appearance to the garment rather than choosing by a screen image alone.
- Decide the attachment. Specify sew-on, iron-on, or hook-and-loop backing and confirm that the garment supports it. Attachment affects laundering, replacement, application labor, and whether heat or stitching could damage the item.
- Decide the order breakdown. Specify the quantity for each design, size, wording version, and backing. Separate variants clearly because a mixed list of roles is not the same production instruction as one repeated design.
- Decide who approves and when the order must arrive. Specify one final approver, the event date, the needed in-hand date, and the shipping destination. Review the free digital mockup and written specifications together before authorizing production.
For example, a church food pantry might use a common pantry symbol on volunteer aprons and distribution totes. The apron version could emphasize VOLUNTEER, while the tote version uses the pantry name without a role. That keeps the visual identity connected without handing recipients a bag that appears to identify them as staff.
Measure the garment before setting the patch size
Measure the flat, usable panel where the patch will sit, not the overall garment. Set the finished width and height in inches, then test a paper cutout on the actual item.
Start with the garment you already have if possible. A structured baseball cap has a different front panel from a soft unstructured cap, and both behave differently from a flat canvas tote. On a polo, check the distance between the placket, armhole, and any existing embroidery. On a zip-front jacket, make sure the patch will not interfere with the zipper or fold into the underarm.
As an example starting specification, you might test a 3-inch-wide horizontal badge on a volunteer jacket chest. Print it at that size, cut it out, and temporarily position it on the jacket while someone wears it. It may need to be narrower, taller, or moved. The measurement is a trial, not a universal chest-patch standard.
Caps deserve their own check. A center seam can complicate attachment, and a stiff, oversized patch may bridge the crown instead of following its curve. I'd skip a dense, tall shield on a shallow cap if a smaller oval carries the same information. You keep the symbol, reduce stiffness, and give the installer a more manageable shape.
Think about fabric weight too. Dense embroidery can pull on a lightweight performance shirt, while a canvas work apron usually supports a heavier badge more comfortably. In our production experience, fabric compatibility causes more avoidable trouble than the difference between two similar outline shapes. If you cannot change the shirt, adjust the patch construction rather than insisting on the original drawing.
Reduce the artwork to a symbol and a readable message
Choose the information someone must notice first, then remove details that compete with it. Specify the exact wording, capitalization, color references, and relative text sizes before asking for production artwork.
For volunteer identification, the role often deserves more space than the full organization name. WELCOME TEAM, FOOD PANTRY, or EVENT VOLUNTEER answers a useful question immediately. A small logo can establish ownership underneath. If a visitor must stand close and study the badge before knowing who can help, the design is doing the wrong job.
Church artwork may include a cross, dove, flame, fish, building outline, or denominational emblem. Nonprofit artwork might use a tree, animal silhouette, hands, or a program symbol. Preserve the part people recognize. Tiny feathers, fine masonry lines, and narrow gaps between fingers are the first details I'd simplify for embroidery.
A mission statement belongs on a handout, website, or packaging card when it cannot remain readable on the patch. The same applies to a long scripture passage. A short reference can work if it stays secondary, but check every character carefully. An incorrect chapter number becomes a production error just as surely as a misspelled organization name.
For example, a river-cleanup nonprofit could use a bold river line, its short program name, and a separate year field on a recognition design. Its year-round volunteer version could omit the date entirely. You avoid leftover dated inventory while keeping a dated option for participants who want a record of that particular service event.
Don't rely on color alone to distinguish roles. Add words or a clearly different symbol so someone can identify the patch without interpreting the palette. Also confirm that you have permission to reproduce any denomination, partner organization, school, or sponsor mark. A supplied image is not, by itself, an instruction to change someone else's logo.
Match the material and border to the artwork
Use embroidery when bold shapes and visible thread texture matter most. Choose woven construction for finer lettering, printing for tonal artwork, or molded polyvinyl chloride when the design needs a flexible, raised surface suited to outdoor gear.
See your artwork as a custom USA patch before you buy. Free digital mockup in 12 hours — 5-piece minimum per design. We do not produce until you approve.
GET A FREE MOCKUPMaterial choice should solve a specific problem. It should not be a contest to select the most elaborate patch. The comparison below replaces a long list of exceptions by tying each construction to a church or nonprofit use case.
| Construction | Useful application | Specification to confirm | Trade-off |
|---|---|---|---|
| Embroidered thread on fabric | Volunteer jacket badges, pantry aprons, simple cap emblems | Letter size, stitched coverage, fabric background, border | Visible texture supports bold artwork, but dense small text needs simplification. |
| Woven thread construction | Compact program names, detailed organization marks, lighter badges | Smallest lettering, line separation, finished edge | Finer detail and a flatter face, without the raised texture of embroidery. |
| Printed fabric | Illustrated campaign art, tonal shading, artwork with gradients | Print clarity, color expectations, edge finish | Preserves tonal artwork, but does not reproduce the dimensional feel of stitched lettering. |
| Molded polyvinyl chloride (PVC) | Trail-service gear, outdoor work bags, removable equipment badges | Raised and recessed areas, flexibility, attachment method | Wipeable face and defined shapes; fine wording and clothing drape still need attention. |
A merrowed border is a wrapped thread edge that gives a patch a rounded, visibly finished perimeter. It works well with shapes the edging equipment can follow cleanly. A heat-cut edge is a sealed outline that can accommodate more closely cut shapes when the chosen material and artwork support it. Deep notches and narrow projections still need review.
I'd choose a simple oval or rounded rectangle for a shared volunteer uniform unless the organization has a strong reason for another shape. It is easy to position, easy to read, and less fussy to sew than an outline with multiple narrow points. A custom silhouette earns its place when the silhouette itself carries recognition.
If your draft has a bold symbol and short wording, you can request a free digital mockup for embroidered volunteer patches using your garment and target dimensions. That is a useful point to check whether the design belongs in embroidery before you spend time refining tiny details.
When the name cannot be shortened, woven patches for fine lettering are worth comparing. Don't solve every readability problem by enlarging the badge. Sometimes the right move is a flatter construction that fits the original garment space.
Choose attachment for washing, heat, and reassignment
Choose backing according to the garment's care requirements and how permanently the patch should stay attached. Sew-on suits many washable uniforms, iron-on requires verified heat compatibility, and hook-and-loop needs a matching receiving surface.
Sew-on backing leaves attachment to stitching rather than an adhesive bond. For regularly washed volunteer jackets and sturdy canvas aprons, it is often the right call. You still need access behind the placement area, and you must avoid stitching a pocket closed. Waterproof garments need additional care because needle holes can affect their weather barrier.
Iron-on backing is a heat-activated adhesive layer that bonds a patch to a compatible fabric under specified application conditions. Check both the garment label and the supplied application instructions. A coated rain shell, delicate knit, or heat-sensitive performance shirt is not a place to improvise with extra heat and pressure.
A household iron is not automatically equivalent to a controlled heat press, especially on a curved cap or across a seam. Avoid promising your volunteers that every patch can be attached at home. Decide who will apply the order, what equipment they have, and whether a local alteration shop should handle the sewing.
Hook-and-loop backing is a two-part fastening system that joins a hook surface to a matching loop surface. It is useful when roles change or garments are shared, but the loop panel must already exist or be added. Specify whether the order needs the hook side alone or both mating components.
For example, a nonprofit might keep shared event vests with sewn loop panels and issue removable patches for different assignments. That arrangement makes sense only if reassignment is frequent enough to justify the extra components and application work. For permanent pantry staff aprons, ordinary sew-on patches may be enough and avoid paying for a removable system nobody needs.
Build the quantity and budget around real distribution
Count by design and destination, not just by the total number of people in the organization. Request a quote in US dollars that identifies the patch specifications, quantity, attachment components, and shipping.
USA Customized Patches has a 10-piece minimum. Keep each wording, size, and backing version visible in the request so the production team can confirm how the minimum applies to the proposed breakdown. A single design repeated across an order is simpler to manage than several role names spread across the same total quantity.
For example, say a run club operated by a nonprofit orders 40 patches. Its coordinator should distinguish patches for current volunteers, planned recruits, and replacements rather than treating all 40 as immediately assigned. If some are intended for caps and others for jackets, confirm whether one physical size truly fits both before combining them.
Bigger and denser embroidery generally increases the production work. More variants can add setup and sorting work. A complex outline, specialty construction, or additional fastening component can also affect the quote. Ask which specification is driving the cost before cutting the quantity or removing wording that people actually need.
An exposed fabric background with selective embroidery may be enough when it preserves the intended appearance and structure. Full stitched coverage is not automatically better. I'd spend the available budget on legible lettering and suitable attachment before adding thread coverage merely to make the face feel heavier.
For fundraising merchandise, include application, packaging, and distribution expenses in your internal budget. The quoted loose-patch cost is not the finished cost of a patch already sewn onto a cap. Also decide what happens to unsold pieces. An undated organization emblem is usually easier to keep available than artwork tied to an event that has already passed.
Approve the mockup against a written specification
Approve the artwork and the order specifications together, not just the picture. USA Customized Patches provides a free digital mockup in about 12 hours, and production starts only after written approval.
Ready to spec type, size, backing, and quantity? Open the quote form for a free 12-hour mockup and USA shipping after approval.
GET A FREE MOCKUPA digital mockup is a visual production reference that shows the planned artwork and layout before manufacturing. It helps you check spelling, arrangement, shape, colors, and proportions. It does not let you feel stiffness, test an adhesive bond, or inspect physical thread color under the lighting in your building.
Review the smallest words at the intended physical size. Zooming in until a patch fills your monitor can hide the very problem you need to catch. If the proof is not displayed at actual size, use the stated dimensions to create a separate paper-size check. Keep that check tied to the same garment you measured earlier.
- Match the organization name, role, scripture reference, year, and punctuation to the final approved wording.
- Confirm finished width and height in inches, orientation, construction, and border type.
- Verify background and thread color references, including contrast between the smallest lettering and the surface behind it.
- Check backing, mating loop requirements, quantity by variant, and the intended garment.
- Confirm the shipping address, needed in-hand date, and the person authorized to approve production.
Choose one person to collect committee feedback. Separate messages from a pastor, program director, volunteer coordinator, and designer can contain conflicting instructions even when everyone means well. Send one consolidated revision request and identify which version replaces the previous one. Approval should refer to the final artwork and final order details.
When those details are ready, send the garment, artwork, and order specifications for a free mockup. Include the unresolved question, such as small lettering or heat-sensitive fabric, so the review addresses the actual production decision rather than only the logo.
Schedule delivery and test attachment before distribution
Plan backward from the date volunteers need finished garments, not the date loose patches should leave production. USA Customized Patches lists a typical production window of 7–12 business days after approval; confirm the schedule for your specifications and destination before relying on an event deadline.
Artwork revisions, shipping transit, garment delivery, and patch application need room in the plan. They are not interchangeable with production time. A box arriving the afternoon before an outreach event does not help much if the badges still need to be sewn onto every vest.
USA Customized Patches ships from Corona, CA, to all 50 states across the United States. Quotes are available 24 hours a day, 7 days a week. Confirm destination-specific transit details through the United States shipping information rather than assuming every state receives the same delivery schedule.
Before applying the entire order, test the selected attachment process on a matching garment or a suitable spare. Check placement while the item is worn, not only while it lies flat. For washable items, follow the garment and patch care instructions and evaluate the test application before handing the work to multiple volunteers.
What usually goes wrong
Most preventable problems come from an unanswered specification, not an unusual manufacturing defect. In our production experience, these are the decisions worth settling before approval.
- The patch fits the artwork but not the cap. Recheck the actual front panel with a paper cutout before keeping the same size for caps and jackets.
- The role disappears under the organization name. Make the role dominant when the patch's job is to help visitors locate assistance.
- Iron-on is selected for a heat-sensitive garment. Verify fabric compatibility before ordering that backing, not during the application session.
- Removable patches arrive without a usable loop surface. Confirm which mating components are supplied and who installs the garment-side panel.
- The committee approves the image but misses the order details. Include size, quantity, backing, and destination in the written approval.
- The event date is treated as the delivery date. Leave time for inspection, attachment, sorting, and distribution.
What this advice is based on
This guidance rests on the patch-production process: reviewing artwork for the selected construction, checking the digital mockup, confirming written order specifications, and matching attachment to the garment. The scenarios and dimensions are examples, not reports of named customer orders. Final suitability depends on your actual artwork, fabric, patch size, and application method.
Keep the approved artwork, dimensions, backing description, and application instructions in the same shared folder. When the next volunteer coordinator reorders, those files are more useful than a phone photo of a patch already sewn onto someone's jacket.