
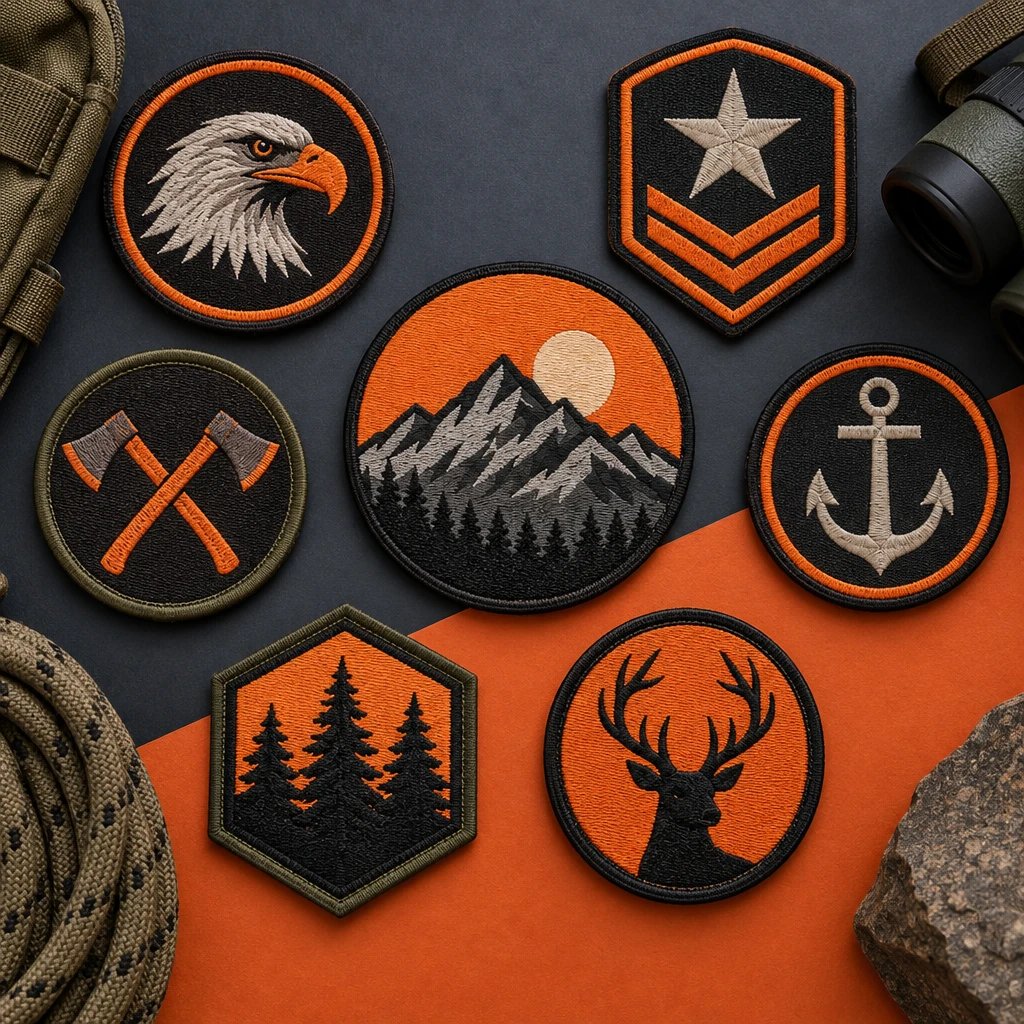
Use this checklist before requesting a final quote or approving custom patches for veteran groups; allow about 15 minutes if your artwork, garment, and member counts are ready. A complete order identifies the patch material, finished dimensions, backing, border, authorized wording, and delivery destination. For most vest and jacket emblems, embroidery is a sensible starting point, but small lettering may call for woven construction instead.
What should custom patches for veteran groups identify?
Decide what the patch needs to communicate before choosing its shape. A chapter identifier, memorial emblem, and public fundraising patch need different wording and distribution rules.
- Verify the primary use. A good answer names one main job, such as identifying chapter members on denim vests, recognizing volunteers at a ceremony, or marking an annual reunion. Trying to fit every purpose into one small emblem usually makes the lettering suffer.
- Verify who will wear it. A good answer distinguishes veterans, family members, supporters, and event volunteers when that distinction matters to the organization. Don't let a supporter's patch accidentally imply military service or a qualification the wearer doesn't hold.
- Verify the exact organization name. A good answer supplies approved spelling, punctuation, chapter designation, and location in editable text, not just a low-resolution photograph. Read abbreviations aloud with the person responsible for the roster.
- Verify the distribution plan. A good answer states whether the patch is issued to members, sold to the public, or included with event registration. That decision affects quantities, wording, and whether future replacement orders need the identical design.
Check names, insignia, and memorial wording before layout
Confirm the group's authority to use supplied insignia and settle sensitive wording before the artwork is drawn. A production approval should not be the first time the committee sees a memorial date.
- Verify the source of each emblem. A good answer identifies the approved artwork source and the person who can authorize its use. Don't assume a service seal, unit insignia, or downloaded logo is available for unrestricted reproduction.
- Verify names and dates against the group's records. A good answer includes a separate typed reference for memorial names, service dates, and event years. Ask a second reviewer to check those details independently rather than simply agreeing with the first reviewer.
- Verify the meaning of specialty symbols. A good answer confirms that qualifications, rank devices, campaign references, and unit identifiers belong in this design. Decorative substitutions can change the meaning even when the replacement looks similar.
- Verify chapter and club conventions. A good answer comes from the organization's own leadership, especially for rocker arrangements or territory wording on riding vests. The manufacturer can reproduce an approved layout, but shouldn't decide what your group is entitled to represent.
Measure the actual cap, vest, or jacket
Measure usable placement space on the garment, not the largest empty-looking area in a product photo. Seams, pockets, cap curvature, and jacket movement all reduce what fits comfortably.
- Verify finished width and height in inches. A good answer gives both measurements and states that they include the border. For example, a proposed 3-inch-wide chest emblem still needs a height specification; width alone doesn't establish whether it clears a pocket flap.
- Verify cap placement on the actual cap model. A good answer includes a front-view photo and a paper template held against the crown. I'd skip a tall, stiff patch on a shallow unstructured cap because the patch can dominate the crown and resist its curve.
- Verify vest placement with the garment worn. A good answer checks pocket access, zipper clearance, nearby pins, and the fold line under the arm. A patch that fits on a flat table may bend sharply when the member sits down.
- Verify jacket-back placement across garment sizes. A good answer checks the smallest jacket in the order, not just the sample worn by the organizer. Keep the patch away from seams that need to flex, and confirm whether installation can reach through the lining.
Use this quick-reference patch specification sheet
Choose construction around the artwork and garment together. The sizes below are planning examples, not minimums or promises that every design will remain readable at those dimensions.
| Use case | Material to consider | Example finished size | Attachment and border | Verify before approval |
|---|---|---|---|---|
| Chapter emblem on a denim vest | Embroidered thread on twill | Example: 3.5 inches wide by 3.5 inches high | Sew-on; merrowed border for a simple outline | Chapter name stays readable and the patch clears pockets |
| Small cap emblem with detailed lettering | Woven thread construction | Example: 2.5 inches wide by 1.75 inches high | Sew-on; confirm the proposed edge finish | Actual-size text proof and fit on the curved crown |
| Large jacket-back identifier | Embroidery with coverage matched to the artwork | Example: 10 inches wide by 8 inches high | Sew-on; merrowed or cut border depending on shape | Smallest jacket fit, lining access, weight, and stiffness |
| Removable range-bag or field-jacket identifier | Polyvinyl chloride (PVC) or embroidery | Example: 3 inches wide by 2 inches high | Hook backing; matching loop surface required | Hook-and-loop compatibility and whether loop material is included |
| Commemorative artwork with gradients | Printed fabric | Example: 4 inches wide by 3 inches high | Sew-on or a compatible heat-applied backing | Image clarity, color expectations, and garment heat tolerance |
Choose texture or fine detail before comparing quotes
Embroidery is the right call when the emblem needs visible thread texture and bold shapes. Woven or printed construction deserves a look when the design depends on details that thread stitches would merge.
- Verify what must remain recognizable. A good answer separates essential features, such as a unit symbol or chapter name, from optional shading. In our production experience, simplifying background detail often preserves the identity of an embroidered emblem better than shrinking every feature together.
- Verify how much thread texture you want. A good answer specifies whether exposed twill is acceptable or the background should be stitched. More coverage can add stiffness and cost; full coverage isn't automatically better for a lightweight shirt or flexible cap.
- Verify the smallest lettering before choosing embroidery. A good answer compares the actual-size layout with a woven alternative when names crowd the border. Review woven patches for detailed lettering if keeping the wording matters more than a raised thread surface.
- Verify whether gradients are essential. A good answer allows printed construction for photographic artwork or continuous shading, or accepts simplified color areas for embroidery. For a straightforward chapter badge, I'd skip a more elaborate material if a clear embroidered design does the job.
If embroidery looks right, request a free digital mockup through the embroidered patch product hub with the garment photo and intended dimensions. That gives the review a useful starting point instead of asking everyone to judge a floating logo.
See your artwork as a custom USA patch before you buy. Free digital mockup in 12 hours — 5-piece minimum per design. We do not produce until you approve.
GET A FREE MOCKUPMatch the backing to how members will wear it
Backing is the reverse-side construction that determines how a patch attaches to a garment or another surface. Choose it for the garment's care requirements and the expected installation method, not just convenience on distribution day.
- Verify whether permanent sewing is practical. A good answer identifies an installer and confirms access behind the placement area. Sew-on is usually my starting recommendation for denim vests and regularly worn jackets because it doesn't depend on the garment tolerating a heat application.
- Verify heat compatibility before selecting iron-on. A good answer checks the garment care label, coatings, and the supplier's application instructions. Avoid guessing with waterproof shells, heat-sensitive synthetics, or leather; a patch adhesive needing heat doesn't make the underlying garment safe to press.
- Verify both sides of a removable attachment. A good answer specifies hook backing on the patch and an existing or separately supplied loop panel on the garment. Hook backing alone won't attach properly to an ordinary smooth jacket.
- Verify expectations for adhesive backing. A good answer treats pressure-sensitive adhesive as suitable only for the stated temporary or surface-specific use, not as a substitute for permanent stitching through repeated laundering. Tell members exactly how their patches are intended to be installed.
Confirm the border and rocker layout
The border changes both the appearance and usable artwork area. Separate rockers also need their own dimensions and spacing plan; they aren't simply extra words added above a center emblem.
- Verify whether a merrowed border suits the outline. A good answer uses this wrapped-thread edge on a shape the production team confirms it can finish cleanly. It suits many circles, rectangles, and shields, but intricate points and deep notches need a different discussion.
- Verify the edge treatment for irregular shapes. A good answer identifies the proposed cut or stitched finish and shows where it meets the artwork. Don't approve a silhouette without knowing whether the edge will add thickness or change the visible outline.
- Verify clearance around text. A good answer leaves a visible buffer between letters and the border instead of squeezing the chapter name against it. Border width consumes space, particularly on small round badges with curved lettering.
- Verify every component in a rocker set. A good answer lists the center emblem, top rocker, and bottom rocker separately, with their quantities and dimensions. For example, a 10-inch center patch doesn't tell production how wide either rocker should be or how the set will fit the vest.
Test lettering and colors at actual size
A screen enlargement can make weak lettering look acceptable. Print the proposed outline at finished size, then inspect the wording without zooming or moving the sample closer than normal viewing distance.
- Verify that important text survives the size reduction. A good answer keeps the group name readable and removes secondary wording when necessary. There isn't one reliable minimum letter height for every font, material, and stroke shape, so ask for an artwork-specific assessment.
- Verify contrast between lettering and its background. A good answer separates light and dark areas clearly, including the border. Subdued colors may suit the group's preference, but low-contrast lettering is a real trade-off on a small cap patch.
- Verify what the color references represent. A good answer identifies supplied brand colors and the proposed thread or material matches. A digital mockup shows placement and intended colors; it doesn't reproduce the texture, sheen, or exact appearance of physical thread under different lighting.
- Verify chapter variants side by side. A good answer checks the longest location name and the shortest one at the same finished size. Don't approve only the easiest version and assume a longer city name will fit without a layout adjustment.
Build a quantity sheet that can actually be quoted
USA Customized Patches has a 10-piece minimum. Submit quantities by design, size, and backing, and ask how variations are grouped for quoting rather than assuming every version counts as the same patch.
- Verify the count for each version. A good answer uses separate lines for cap emblems, jacket emblems, chapter names, and backing changes. For example, a group planning 40 patches should say how many belong to each version instead of sending one combined total.
- Verify whether the count means pieces or sets. A good answer spells out every component. If members receive a center emblem and separate rockers, the number of members isn't the number of individual patches that production needs to make.
- Verify replacement needs with the membership coordinator. A good answer considers new members, damaged garments, and future uniform changes before choosing any reserve quantity. Don't add extras blindly, especially when an event year makes unused patches difficult to reuse.
- Verify the reorder record. A good answer retains the approved artwork revision, finished measurements, material, thread references, border, and backing. A photograph of the old patch is helpful, but it isn't a complete manufacturing specification.
Compare the complete order cost in USD
Compare quotes only after the specifications match. A lower per-piece figure tells you little if one quote covers a simple chest badge and the other includes a dense, oversized jacket emblem.
- Verify the construction behind the price. A good answer lists material, dimensions, thread coverage where relevant, colors, border, backing, and quantity. Bigger and denser generally costs more, but the written quote should explain the actual configuration being priced.
- Verify the complete amount in dollars. A good answer identifies the patch subtotal and any applicable shipping, tax, setup, sample, or special-service charges. Ask what is included rather than assuming a free digital mockup also means every optional service is free.
- Verify whether a simpler option meets the need. A good answer keeps exposed twill where it works, avoids unnecessary layers, and uses one standard size when placement allows it. A less expensive construction is enough if it preserves the emblem and wears appropriately.
- Verify installation costs separately. A good answer accounts for sewing, adding loop panels, or arranging compatible heat application. Those tasks can affect the group's practical budget even when they aren't part of the patch manufacturer's quote.
Ready to spec type, size, backing, and quantity? Open the quote form for a free 12-hour mockup and USA shipping after approval.
GET A FREE MOCKUPApprove the proof without losing track of changes
USA Customized Patches provides a free digital mockup before production, generally in about 12 hours. Production starts only after written approval, so appoint one person to collect comments and authorize the final version.
- Gather one complete specification packet. Verify the artwork file, typed wording, garment photo, dimensions, backing, border, and quantity sheet. A good packet gives the reviewer enough information to check the mockup without searching through old messages.
- Review meaning before appearance. Verify names, dates, insignia, and chapter identifiers first. A good review resolves factual errors before spending time adjusting border color or the spacing around decorative elements.
- Review the proof at finished size. Verify the overall measurements and the relationship between text, symbols, and border. A good approval identifies the exact proof revision and includes a paper-size check on the intended garment.
- Consolidate requested changes. Verify that committee comments don't contradict one another. A good response provides one marked list from the designated coordinator instead of several separate messages asking production to follow different instructions.
- Approve the full order in writing. Verify that artwork approval also matches quantities, backing, delivery address, and the current schedule. A good approval references the final revision and clearly authorizes production, rather than saying only that the colors look fine.
If the committee needs something concrete to review, send the completed specs through the patch artwork and quote contact form and request the free digital mockup. Keep feedback on that version together so nobody approves an outdated attachment.
Separate production time from the arrival deadline
Typical production is 7–12 business days after approval, with the order-specific schedule confirmed before production. USA Customized Patches ships nationwide from Corona, CA, to all 50 states; production time and transit time are separate parts of the deadline.
- Verify the required arrival date. A good answer names the date patches must be in the organizer's hands, not just the reunion or ceremony date. Leave room for counting, installation, and member distribution before the event.
- Verify what starts the production clock. A good answer confirms the final written approval and any outstanding order requirements. Requesting a quote or receiving the first mockup doesn't mean the patches have entered production.
- Verify transit for the actual destination. A good answer uses the complete ship-to address and a confirmed service estimate, including Alaska or Hawaii when applicable. Review the nationwide patch shipping information and ask about the current order rather than treating a general timeline as a delivery guarantee.
- Verify who can receive the shipment. A good answer names a reliable recipient and checks address accuracy, building access, and any receiving restrictions. USA Customized Patches is open 24 hours a day, 7 days a week for quotes, but quote availability doesn't turn weekends into production business days.
What is this checklist based on?
This advice rests on the patch-production process, the digital mockup review, and the specifications that control an order. Material recommendations describe practical production trade-offs, not a claim that one construction works on every garment.
- Verify what the digital proof can establish. A good answer uses it to confirm layout, wording, intended colors, and stated dimensions. It doesn't treat the screen image as a physical test of flexibility, surface texture, or adhesion.
- Verify any unresolved physical requirement. A good answer asks whether a physical sample is available, what it costs, and how it affects scheduling when exact color or garment compatibility is critical. Don't assume a physical sample is included with the digital mockup.
- Verify that the approved order remains the source of truth. A good answer keeps one final specification packet accessible to the coordinator and future reorder contact. General advice should never override a documented material limitation or a garment care instruction.
Prepare installation instructions before handing patches out
Give members installation instructions that match the backing they actually receive. Otherwise, identical patches can end up attached in ways that damage garments or defeat the group's placement standard.
- Verify placement guidance. A good answer includes a simple garment diagram with a measurement reference, such as a pocket edge or center seam. A photograph alone can make the intended position difficult to reproduce across jacket sizes.
- Verify attachment instructions with the installer. A good answer distinguishes sew-on pieces, heat-applied pieces, and hook-backed pieces. Don't include generic iron-on instructions with a sew-on order, and don't expect members to identify the backing by touch.
- Verify the delivered pieces before distribution. A good answer checks counts by version, finished dimensions, wording, backing, and visible consistency against the approved order. Keep the packaging and order reference until that check is complete.
- Verify who holds the master record. A good answer assigns the final proof, specification sheet, and installation notes to an ongoing chapter role rather than leaving them only in an outgoing officer's inbox. Save that packet before the first patch goes onto a vest.