
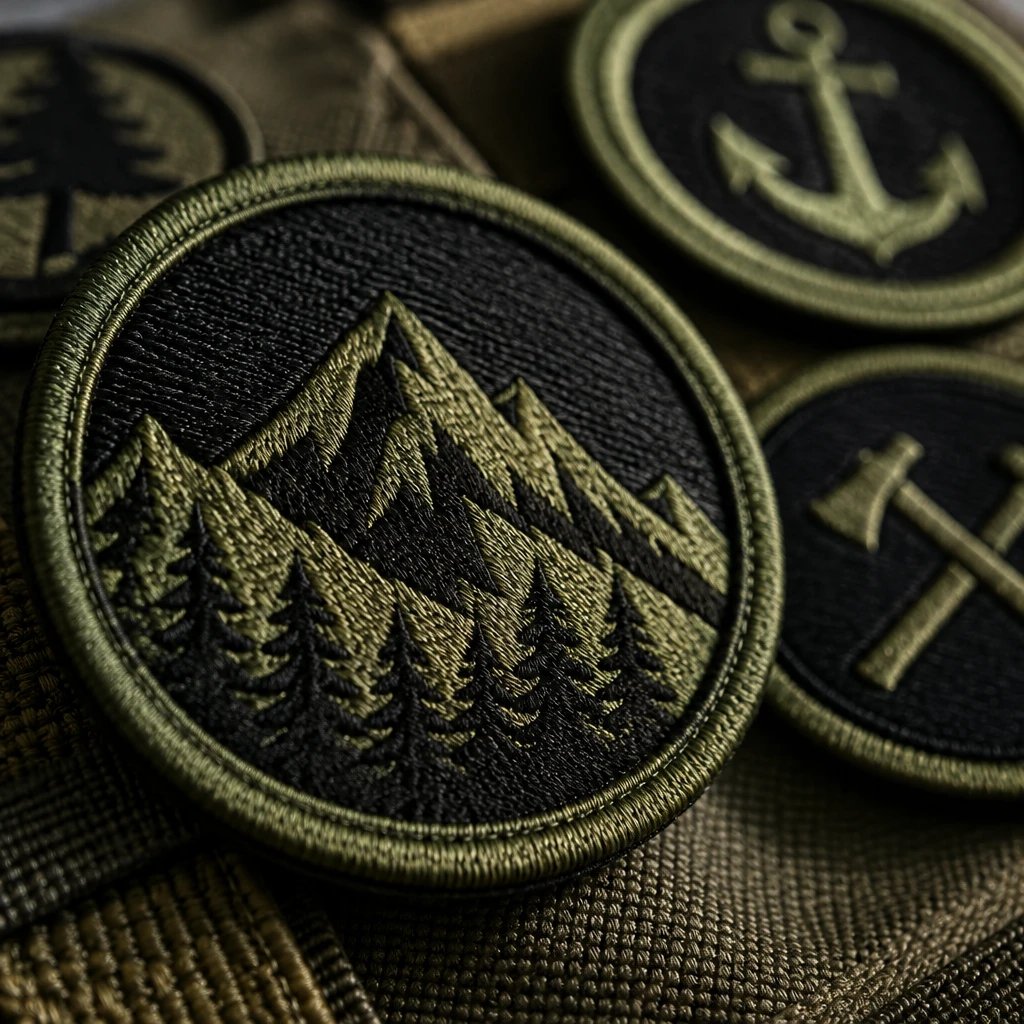
In a Chicago patches vs embroidery comparison, patches win for mixed gear and reusable designs, while direct embroidery is usually the cleaner choice for matching polos and simple cap logos. The reasons come down to garment construction, artwork, attachment labor, and what happens when the team needs another order.
Don't choose by texture alone. A thick embroidered badge can look right on a canvas work jacket and feel awkward on a lightweight performance shirt. The same stitched logo that looks clean on a cotton polo may lose definition when it crosses the raised center seam of a structured cap. Start with the clothing people will actually wear.
What are you comparing: a separate patch or stitches in the garment?
An embroidered patch is a separate fabric badge that carries a design stitched with thread. Direct embroidery is a decoration process that stitches the design into the hat, shirt, or jacket rather than making a separate badge.
Both can use embroidery thread. That is why comparing “patches versus embroidery” gets confusing: an embroidered patch is embroidery, too. The useful distinction is where the design is made and how it reaches the garment. A patch gets manufactured first, then attached. Direct embroidery requires the actual garment to go through the embroidery setup.
That extra attachment step is not automatically a disadvantage. It lets a club hold loose badges for future jackets, distribute patches at an event, or apply the same identity to different brands of outerwear. But someone still has to sew, heat-apply, or otherwise mount each badge. A box of patches is not a box of finished uniforms.
The comparison below assumes a flat embroidered patch and conventional direct embroidery. A woven patch, printed patch, or raised foam design changes the detail and surface options. Those alternatives matter when the artwork is the problem, but they shouldn't distract from the first decision: separate badge or integrated garment decoration.
Chicago patches vs embroidery: which differences affect the order?
Patches offer flexible placement and inventory; direct embroidery removes the separate attachment step and usually has less edge bulk. Neither is automatically cheaper or more durable once you account for the garment and the finished application.
| Buying criterion | Embroidered patches | Direct embroidery | Practical decision |
|---|---|---|---|
| Durability | A well-sewn badge can withstand regular wear, but its raised edge can catch or abrade. Attachment is a separate failure point. | There is no attached badge edge, but exposed threads can snag and dense stitching can strain unsuitable fabric. | Match stitch coverage and attachment to the garment and its care instructions. |
| Detail level | A stable patch base helps hold the design, but thread still limits small lettering, narrow gaps, and fine lines. | Fabric texture, cap seams, stretch, and embroidery access affect the result along with thread limitations. | Judge lettering at finished size, not from enlarged artwork. |
| Cost drivers | Dimensions, embroidery coverage, quantity, border, backing, and attachment labor all affect the total. | Stitch count, digitizing, garment construction, placement, quantity, and handling affect the quote. | Compare a finished decorated garment with another finished decorated garment. |
| Typical uses | Club jackets, workwear, bags, event badges, and team emblems used across different items. | Matching polos, uniform shirts, and caps with uncomplicated logos. | Choose the format around the actual gear list. |
| Surface and comfort | Adds a separate layer, a visible border, and some stiffness. | Usually has a lower profile, though dense stitches and stabilizer can still affect feel. | Favor lighter decoration on thin shirts and flexible knits. |
| Replacement and reuse | A sewn badge may be transferable, but removal can leave holes or an outline. | Removing the logo is difficult and can damage or visibly mark the garment. | Use a compatible hook-and-loop panel when planned removal matters. |
| Repeat orders | Loose patches can be stored separately from garment sizes and styles. | Each new garment batch must be decorated, with setup and placement checked again. | Consider whether the team adds members gradually or replaces uniforms together. |
The table has an important limit: neither decoration method repairs a poor garment choice. A heavily stitched badge won't make a flimsy cap front hold its shape. Direct embroidery won't make a very small, crowded seal readable. Change the blank or simplify the art before paying to repeat the same problem.
Choose patches if your team uses different kinds of gear
Choose patches if the same badge needs to appear on jackets, equipment bags, and selected caps, or if you want loose inventory for later use. The separate badge keeps the emblem consistent even when the garments differ.
For example, say a Chicago neighborhood club orders 40 patches for canvas jackets and gear bags. Members bring different jacket brands, but the club wants one recognizable emblem. A separate patch gives them a common badge without requiring every garment to accept the same direct-embroidery setup. Placement and attachment still need checking on each item.
Patches also make sense when the badge itself is part of the appeal. Think of a bordered club crest on a denim jacket or a service emblem on a work shirt. That visible edge is intentional. A merrowed border is an overlocked thread edge that frames compatible patch shapes; a cut edge can suit shapes a bulky rolled border would crowd.
Keep one distinction in mind. A common badge does not guarantee one size will fit every surface. For example, a 3-inch jacket emblem may be too tall for the usable front panel of a particular cap. The artwork can stay related while the size, text layout, or border changes for the hat version.
If you want to test that separate-badge approach, request a free digital mockup of your custom embroidered patches with the intended garment and finished dimensions. It is easier to remove a crowded text line on the screen than to find room for it after production.
Choose direct embroidery if you need matching polos or simple cap logos
Choose direct embroidery when the garment is already standardized and the logo works without a separate badge. It is often the simpler, lower-profile choice for left-chest polo decoration and uncomplicated lettering on suitable caps.
For example, consider a Chicago business ordering matching cotton-blend polos with a small wordmark. I'd skip the patch unless a bordered badge is part of the identity. A separate fabric base and perimeter can make a quiet chest logo feel like a uniform emblem. Direct stitching usually fits that restrained placement better.
The simpler option can also be the less expensive finished option. If the direct-embroidery quote covers a modest stitch count and one accessible placement, buying patches and paying a second shop to attach them may add work without adding value. Take the lower quote when the decoration still meets the brief. More construction is not inherently better.
Lightweight performance shirts require more caution. Dense direct embroidery can pucker thin fabric, while a heavy patch can pull or distort it. Neither deserves automatic approval. Ask the garment decorator to assess the actual shirt, reduce unnecessary stitch coverage, and explain the stabilizer. A suitable decoration on a stable polo does not prove the same design belongs on a thin running top.
What changes when the logo goes on a cap?
A cap adds curvature, seams, and limited access, so its usable decoration area matters more than the size of the front panel on paper. Both a patch and direct embroidery must work with that specific cap construction.
See your artwork as a custom USA patch before you buy. Free digital mockup in 12 hours — 5-piece minimum per design. We do not produce until you approve.
GET A FREE MOCKUPStructured caps have front support that can help hold a badge, but the center seam creates an uneven surface. A patch can visually bridge that seam while its attachment still has to accommodate the raised area underneath. Direct embroidery across the seam needs artwork and machine setup suited to the cap. Neither method makes the seam disappear.
Unstructured cotton caps behave differently. A large, dense badge may make the front feel stiff or pull it out of its relaxed shape. For example, a smaller 2-inch badge may sit more naturally than a tall shield on a shallow crown, but that is a layout example, not a universal sizing rule. Measure the cap.
Foam-front trucker caps introduce heat sensitivity, and a curved cap press is not equivalent to a household iron. I'd avoid planning a DIY iron-on run before checking the cap material and the patch adhesive requirements. For a plain embroidered wordmark on matching caps, direct embroidery can save the separate badge attachment altogether.
- Identify the cap style and material before setting the finished decoration size.
- Check the center seam, crown height, and distance from the bill.
- Ask whether the patch price includes attachment to the cap.
- Confirm how the decoration affects the sweatband, lining, and inside finish.
Which option costs less after the garment is finished?
The cheaper option is the one with the lower complete cost for an acceptable finished garment. A loose patch quote and an embroidered-shirt quote cover different work and cannot be compared at face value.
For patches, ask for the badge, backing, border, attachment, garments if supplied, and shipping to be identified. For direct embroidery, ask about digitizing, decoration, garments, placement changes, and shipping. Request the totals in US dollars. If different vendors handle manufacturing and attachment, make sure each knows what the other is supplying.
Bigger, denser embroidery generally takes more material and machine time. More handling also matters. Sewing patches onto lined jackets, for example, is not the same task as sewing them onto an accessible fabric panel. A quote can rise because reaching the placement is difficult, even when the badge itself is uncomplicated.
Patches can be economical when a team buys one badge design for several garment types and keeps extras for new members. That benefit disappears if unused badges sit in storage after the club changes its logo. Direct embroidery can be economical for a coordinated garment run, especially when the art is simple and no separate attachment is needed.
Don't pay for removability you won't use. A permanently decorated staff polo rarely needs hook-and-loop backing. Don't pay for dense fill just because it sounds more substantial, either. Exposed base fabric can be an intentional part of an embroidered patch, provided the mockup clearly shows the intended construction and color.
Will small lettering look better on a patch?
An embroidered patch can provide a more controlled stitching surface, but it does not remove the physical limits of thread. Small lettering still needs enough height, stroke width, and space between characters to remain readable.
In our production experience, the troublesome artwork is often a detailed crest scaled down without changing its contents. A city name, founding date, mascot, slogan, and outer ring may look balanced on a monitor but compete for the same small area on a cap. The correct fix is often fewer elements, not more stitches.
For example, a jacket badge could retain a club's full name while its cap version uses initials and the central symbol. That is a better compromise than forcing every word into both placements. Keep the identity consistent through the main shape and colors rather than insisting on identical miniature artwork.
If the fine lettering truly cannot change, compare woven patches for detailed artwork before committing to embroidered construction. Woven patches use finer yarn structures than conventional embroidered stitches and can suit smaller detail. They still need a finished-size review, and the flatter surface will not have the same raised thread texture.
Which backing belongs on jackets, shirts, and team bags?
Sew-on attachment is a practical starting point for many washable garments and bags, while hook-and-loop works when the garment already has a compatible receiving panel. Iron-on backing is only appropriate when the material and application conditions support it.
Sew-on for compatible permanent placements
A perimeter seam holds the patch mechanically rather than relying on heat-activated adhesive. That suits many denim jackets, canvas bags, and work shirts. Access matters, though. Sewing through a pocket can close it, and sewing through a lining can change how the garment hangs. Decide which layers the attachment should penetrate before work begins.
Iron-on for suitable fabric and controlled application
Iron-on backing is a heat-activated adhesive layer that bonds a patch to compatible fabric under specified application conditions. Temperature alone is not the whole process; time, pressure, contact, and cooling matter. Coated outerwear, heat-sensitive synthetics, and curved cap fronts need extra review. Don't assume every garment that accepts sewing also accepts heat.
Hook-and-loop for planned removal
Hook-and-loop attachment uses a hook surface on the patch and a compatible loop surface on the garment. It is useful for interchangeable identifiers on suitable jackets or bags. The garment needs the receiving panel; a hook-backed patch does not attach properly to an ordinary polo just because the polo is fabric.
Ready to spec type, size, backing, and quantity? Open the quote form for a free 12-hour mockup and USA shipping after approval.
GET A FREE MOCKUPChicago teams using weather-resistant shells should ask about the shell construction before selecting either sewn decoration or direct embroidery. Needle holes can affect a protective barrier, while heat can affect some coatings. The garment manufacturer's decoration and care guidance belongs in the decision, not as an afterthought once the patches arrive.
Which decoration holds up better to wear and washing?
Neither method has a universal durability advantage. Direct embroidery avoids a separate badge edge, while a sewn patch provides its own fabric base; both can suffer from abrasion, snagging, unsuitable care, or poor application.
For a jacket brushing against tool belts or bag straps, placement may matter more than the method. Raised thread can snag, and an exposed patch corner can catch. On regularly washed shirts, excessive density can change the way the fabric moves. Consider the whole garment rather than treating the decoration as an isolated sample.
Follow the garment and decoration care instructions together, using the more restrictive guidance when they differ. Do not assume an iron-on bond will tolerate every wash or dryer setting that the shirt itself allows. Before approving team-wide cleaning instructions, make sure the attachment provider has identified any limitations.
A patch can sometimes move to a replacement jacket, but “reusable” needs qualification. Removing perimeter stitches may leave needle marks, fading differences, or an outline on the original garment. Heat-applied patches can leave adhesive behind. If regular swapping is the actual goal, plan a receiving panel rather than repeatedly removing permanent decoration.
What should a Chicago team approve before placing the order?
Approve the artwork at its intended dimensions, the patch construction, and the attachment plan before authorizing production. A digital mockup confirms visual decisions; it does not prove how every garment will respond to sewing, heat, or washing.
- List the actual gear. Identify the cap model, shirt fabric, jacket construction, and bag placement rather than writing only “team apparel.”
- Measure each usable placement in inches. Note seams, pockets, zippers, curved panels, and anything behind the decoration area.
- Set the finished artwork. Confirm wording, thread colors, dimensions, border, and which areas show base fabric rather than embroidered fill.
- Choose attachment separately. Record sew-on, iron-on, or hook-and-loop requirements and identify who is responsible for applying the patches.
- Check the complete quote. Separate loose patches from finished apparel and include attachment labor, garment handling, and delivery.
- Give written approval only after revisions are complete. For critical fit, feel, or color matching, ask about a physical sample and any added cost or schedule.
USA Customized Patches has a 10-piece minimum. A free digital mockup is provided before production, generally in about 12 hours. Production starts only after written approval. Typical production takes 7–12 business days, but order specifications and revisions should be confirmed against the actual schedule.
USA Customized Patches ships from Corona, California, to all 50 states in the United States. Quotes are available 24 hours a day, 7 days a week. Review the United States shipping information and confirm transit separately from production, especially when the patches must reach another shop for attachment before a Chicago event.
Need to compare a jacket badge with a cap version? Send the artwork, garment details, and intended dimensions through the patch quote and artwork contact form for a free digital mockup. Include the required arrival date, not just the date someone plans to distribute the finished gear.
What is this advice based on?
This advice rests on patch construction, the digital mockup review, and the order specifications that affect production and attachment. It is a practical buying framework, not a controlled wear test or a promise that one method always costs less.
In our production experience, artwork density, usable placement, border construction, and backing requirements need to be resolved together. The direct-embroidery comparison describes process differences; the garment decorator must confirm feasibility and pricing for the actual blanks. A mockup is a review tool, not a substitute for testing a demanding application.
What is the final choice for your team's gear?
Choose patches for a shared badge across mixed gear, and choose direct embroidery for a simple logo on standardized polos or suitable caps. If the direct-embroidery quote is lower and the finished look fits, the simpler option is the right call.
You don't have to force one method across the whole program. For example, a Chicago team could use direct-embroidered staff polos and sewn patches on member jackets. Put the same approved artwork, placement dimensions, garment details, and required arrival date in both quote requests so the comparison measures finished gear rather than incomplete prices.