
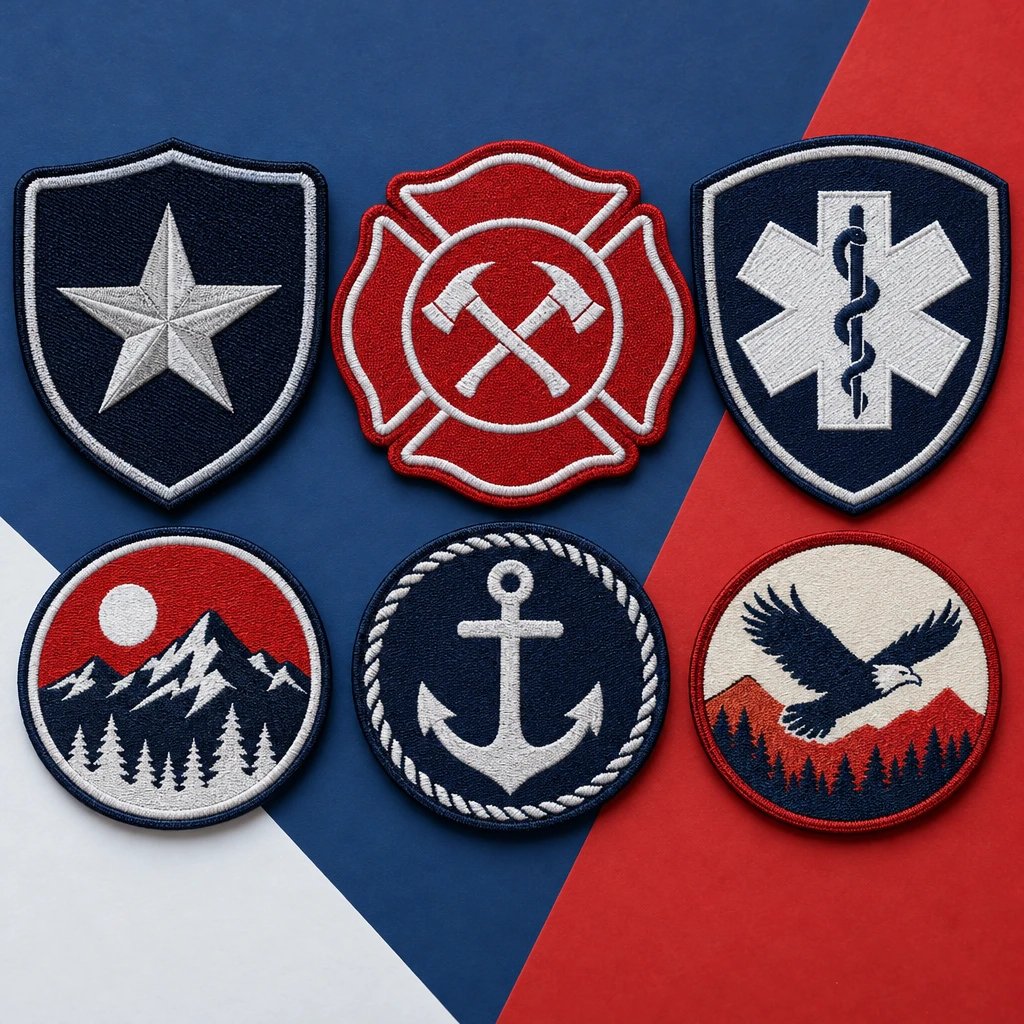
In this hypothetical example, a Fort Worth EMS uniform coordinator needs fort worth department patches for 40 staff members, with finished shirts due in 24 business days. The order should follow the agency’s approved artwork, fit the actual shirt sleeve, and specify material, size, backing, quantity, and an arrival date before production starts. Here, the working plan is 90 sew-on patches for two shirts per person plus 10 spares, subject to the department’s approval.
This is an example, not a customer account or a statement of official Fort Worth uniform requirements. The coordinator is ordering for an authorized EMS team, not redesigning a city insignia. Police and fire buyers face many of the same production decisions, but their approved artwork, garments, and attachment rules may differ. Start with the uniform specification, not a patch photograph found online.
What artwork should you send for Fort Worth department patches?
Send the current, authorized artwork and identify which elements cannot change. A production-ready brief separates fixed department details from features that may need adjustment for thread, such as tiny lettering or narrow spaces.
Our example coordinator has a shield-shaped design with an agency name across the top, an EMS identifier below a central symbol, and a narrow border. Those are hypothetical design features, not a description of an actual Fort Worth agency patch. Before asking for a quote, the coordinator confirms that the file is the approved revision and that the person reviewing the mockup can authorize production.
A vector PDF, AI, or EPS file is useful because its shapes can be inspected without relying on a blurry enlargement. File format alone proves little, though. A photograph saved inside a PDF is still a photograph. If the only reference is an existing patch, send a straight-on image, a ruler beside it, and any available written color or lettering specifications.
- Identify the approved artwork revision and reproduce every required word exactly, including punctuation and abbreviations.
- Mark fixed elements: department name, official symbol, shape, required colors, and any required border treatment.
- Flag uncertain details rather than silently correcting them. A tiny line in the reference could be intentional, damage, or a scanning artifact.
- Provide the intended garment and a proposed finished size so the artwork is reviewed at the scale that will actually be worn.
- Name the final approver and keep comments in one revision thread so conflicting instructions do not reach production.
I'd simplify decorative detail before shrinking the department name, but only with permission. In our production experience, buyers often judge a design on a large screen and miss how crowded the same lettering looks on a sleeve. Review the proof at actual size. Read it without zooming. If the lower text is already hard to distinguish in a full-size printout, embroidery will not rescue it.
For a first fit check, send the authorized art and proposed measurements for a free digital mockup of the embroidered patch layout. The useful part is seeing the name, symbol, border, and finished dimensions together before anyone approves the run.
The lesson: settle authority and artwork revision first. A clean file cannot compensate for an unapproved design.
Which patch material fits a police, fire, or EMS uniform?
Embroidered patches are the right starting point when the approved design calls for a raised thread appearance and readable, fairly bold shapes. Woven or printed construction deserves a look when required detail is too fine for the proposed embroidery size.
An embroidered patch is a fabric emblem that uses stitched thread to form its design. A woven patch is a fabric emblem that forms its artwork through interlaced threads, producing a flatter surface with finer detail. Neither construction is automatically correct for an agency uniform. The approved appearance comes first.
For our example, the coordinator chooses embroidered construction with a navy fabric background, white lettering, and a red central accent. These are scenario choices, not department specifications. The background fabric stays visible where the design permits it. I'd skip full thread coverage here unless the approved reference requires it; filling an otherwise plain background adds stitching and can make the finished patch feel heavier without improving identification.
| Construction | Useful when | Trade-off to check | Decision in this example |
|---|---|---|---|
| Embroidered | The approved insignia uses bold lettering and a textured thread surface | Small lettering and close line spacing may need revision or more room | Selected because the hypothetical artwork is simple enough for thread |
| Woven | The approved design includes fine lines or small lettering | The flatter appearance may not match an embroidered uniform standard | Keep as an alternative if required text fails the embroidery review |
| Printed | The design contains gradients, photographic elements, or intricate color detail | Printed artwork does not reproduce raised embroidery texture | Not needed for this solid-color shield design |
| Polyvinyl chloride (PVC) | The approved application calls for a molded, flexible emblem | Thickness and molded appearance differ from traditional fabric insignia | Not selected for this example's uniform shirts |
That table replaces the usual argument about which material is “best.” Best for what? A fine-line commemorative emblem and a daily uniform shoulder patch solve different problems. Compare woven patch construction if keeping small text is essential. Review printed patch options when the artwork genuinely depends on gradients rather than asking embroidery thread to imitate a photograph.
Fire department buyers need an additional distinction. A station shirt or administrative jacket is not the same application as turnout gear. Do not treat a standard patch as approved for protective equipment, and do not assume that changing the backing makes it suitable. The equipment specification and the responsible agency decision must govern any addition to protective clothing.
Police buyers may also need to preserve the appearance of an existing uniform program. A technically cleaner woven version can still be the wrong purchase if the approved specification requires embroidery. Production advice should help reproduce the authorized insignia, not quietly replace it.
The lesson: choose the construction that reproduces the approved design on the intended garment. Extra texture, coverage, or molded detail is not a benefit by itself.
How do you size a shoulder patch before ordering?
Measure the usable area on the actual garment and specify the patch’s finished outside dimensions, including its border. A paper template is a better fit check than a screen image or a measurement borrowed from another shirt.
The hypothetical EMS order starts with a proposed shield measuring 3.5 inches wide by 4.25 inches tall. That is an example size, not a Fort Worth standard. The coordinator prints the outline at full scale and places it on a sample short-sleeve uniform shirt, following the agency’s placement instructions. The same check goes onto the smallest shirt size in this particular order.
Check the whole sleeve. A patch can fit inside a flat measurement and still crowd a shoulder seam, curve awkwardly toward the underarm, or interfere with an existing identifier. A tapered shield also occupies space differently from a rectangle with identical maximum dimensions. Width and height alone do not describe the entire footprint.
- Measure the widest and tallest parts of the proposed finished patch, including the outside border.
- Print an actual-size outline and verify the print with a ruler; printer scaling can change the result.
- Place the template on the intended shirt using the department's placement reference.
- Check seam clearance, sleeve curvature, nearby insignia, and the usable space on the smallest garment being supplied.
- Record the accepted dimensions on the quote and mockup so the approved size is not left in an email attachment.
See your artwork as a custom USA patch before you buy. Free digital mockup in 12 hours — 5-piece minimum per design. We do not produce until you approve.
GET A FREE MOCKUPNext comes the border. A merrowed border is an overlocked thread edge that wraps the patch perimeter and creates a raised rim. It suits many simple outlines. A cut edge follows the design perimeter without that same wrapped rim and can be useful for shapes with tighter details, depending on the material and finishing method.
For this simple shield, the coordinator requests a merrowed border and asks production to confirm that the bottom point can be finished cleanly. The quote must identify the border rather than merely saying “finished edge.” If the artwork later changes to a shape with narrow projections, the edge decision needs another review.
The lesson: approve the physical footprint and border together. Reducing the patch after approving the artwork can also reduce lettering clearance and change the design’s balance.
Should uniform shirt patches use sew-on, iron-on, or hook-and-loop backing?
Sew-on is the right call for this example’s permanently identified uniform shirts, provided the department and garment specifications allow it. Iron-on requires fabric and heat compatibility checks, while hook-and-loop works best when the garment is intended for removable identification.
Backing and border are different specifications. The border finishes the edge. The backing determines how the patch is prepared for attachment. Asking for a merrowed border does not tell production whether the back should be plain for sewing, coated with heat-activated adhesive, or fitted with hook material.
In the hypothetical order, each staff member receives two poly-cotton uniform shirts with one patch sewn onto each shirt. The coordinator chooses a sew-on specification without heat-activated adhesive and gives the installer the approved placement instructions. This keeps attachment permanent without depending on an adhesive bond. It still requires competent sewing and a garment that permits the alteration.
I'd skip iron-on for this run. Not because it is always inferior, but because 80 shirts need a consistent attachment method and the buyer already has a uniform sewing service arranged. An adhesive layer would not remove the need to verify fabric care instructions, press access, heat tolerance, and bond quality. It would introduce another variable without solving a problem in this scenario.
A cap creates a different setup. Its curved front, center seam, stiffener, and interior construction may limit pressing or sewing access. A heat setting that works on a flat fabric sample is not automatically suitable for a structured cap. Likewise, thin performance fabric can pucker around a dense patch even when the patch itself is made correctly.
Hook-and-loop backing is an attachment system that uses mating hook and loop surfaces to make a patch removable. Specify which side is supplied. A hook-backed patch needs a compatible loop field on the garment, and the dimensions should fit that field without exposed hook edges rubbing nearby fabric.
If the example order later adds duty jackets with existing loop panels, keep those patches as a separate line item. They may share artwork but need a different backing or size. Do not bury that change in a note saying “some for jackets.” State the garment, quantity, finished size, and attachment requirement for each version.
Laundry also belongs in the discussion. Send the actual care process, especially if uniforms go through a commercial service. In our production experience, attachment problems are often about the combination of garment, application, and cleaning routine rather than the face material alone. A digital proof cannot verify that combination.
The lesson: choose attachment for the garment’s real use and care routine. Removable, heat-applied, and sewn patches are different setups, not interchangeable checkout options.
How many patches should a department order?
Count the garments receiving patches, then add a deliberate spare quantity. Staff headcount is only the starting point because one person may need several uniform items, and some garments may carry more than one patch.
The example calculation is straightforward: 40 staff members multiplied by two shirts each equals 80 patches. The coordinator adds 10 spare patches for approved replacement shirts and limited near-term needs, bringing the order to 90 pieces of one design, size, border, and backing. That spare quantity is a scenario choice, not a universal stocking rule.
USA Customized Patches has a 10-piece minimum. When a quote includes several designs or versions, identify them separately and confirm how the minimum applies before assuming they can be combined. A police shoulder emblem, a fire company identifier, and an EMS patch are not automatically one production item simply because the purchasing office is the same.
For this run, I'd keep the spare patches unattached and labeled with the approved specifications. That makes them useful when a shirt needs replacing. Ordering a large pile without knowing future garment needs can be wasteful, especially if an insignia revision is under discussion.
Ask for the quote in US dollars and distinguish patch cost, shipping, and any separately arranged installation work. Larger dimensions, denser stitching, special backing, and multiple versions can increase the total. A lower unit price on a larger order does not necessarily mean lower total spending.
A simpler specification can be enough. If the approved design allows exposed background fabric and the shirt needs permanent sewing, extra fill stitching and removable backing are unnecessary additions. Keep required detail. Cut unneeded features, not legibility.
The lesson: buy against a garment count and a stated spare plan. “Forty people” is not a complete quantity specification.
When should you approve patches for a fixed uniform deadline?
Work backward from the date finished uniforms must be ready, allowing separate time for artwork approval, production, shipping, and installation. The production clock does not include every step between the first inquiry and a wearable shirt.
Ready to spec type, size, backing, and quantity? Open the quote form for a free 12-hour mockup and USA shipping after approval.
GET A FREE MOCKUPUSA Customized Patches provides a free digital mockup in about 12 hours. Production starts only after written approval. Typical production takes 7–12 business days, and the applicable schedule should be confirmed for the actual order before approval. Quotes are available 24 hours a day, 7 days a week; that does not make production or carrier transit a seven-day operating schedule.
The hypothetical coordinator has 24 business days before the shirts are needed. That may provide workable room, but it is not a delivery promise. The buyer asks for a confirmed schedule using the destination ZIP code, the selected specification, and the date the sewing service must receive the patches.
- Example business day 1: submit authorized artwork, the proposed 3.5-by-4.25-inch size, sew-on backing, a merrowed border, a 90-piece quantity, and the required arrival date.
- Example business days 2–3: review the mockup, resolve comments, verify the paper template, and obtain written approval from the designated department reviewer.
- After written approval: allow the confirmed production period, using the typical 7–12 business days as a planning reference rather than a guaranteed completion date.
- Before approving the schedule: obtain the shipping estimate for the delivery address and check how weekends or holidays affect the available time.
- Before the example's business day 24: receive and inspect the patches, complete installation, and check finished shirt placement. In this scenario, the installer has requested three business days after receiving usable patches.
Three business days for installation is a hypothetical arrangement with this example’s sewing service, not a standard service offered by the patch manufacturer. Keeping that distinction visible matters. A box of patches arriving on the uniform deadline is late if the shirts still need to be sewn.
USA Customized Patches ships from Corona, CA, to all 50 states across the United States. Review the shipping information for patch orders and confirm the delivery address during quoting. Nationwide shipping describes where an order can go; it does not mean identical transit times to every destination.
Before giving written approval, check the department name letter by letter, the artwork revision, thread color references, finished dimensions, border, backing, and quantity. Also confirm which date is being discussed: production completion, shipment, patch arrival, or finished-uniform readiness. Those are four different milestones.
If your deadline is already fixed, request a free digital mockup through the patch order contact form with the required arrival date and complete specification attached. That gives the review a concrete target instead of a vague request to make the order fast.
The lesson: protect time for approval and installation, not just manufacturing. If the confirmed schedule does not fit, resolve that before production is authorized.
What should you inspect when the patches arrive?
Check the delivered patches against the approved specifications before installing the full batch. Count the pieces, verify the backing and dimensions, and compare the lettering, layout, and border with the approved artwork.
In the example, the coordinator separates the 80 installation pieces from the 10 spares and checks the shipment before releasing it to the sewing service. Lay a patch flat to measure its maximum outside width and height. Look for consistent lettering and clean edge finishing, and document any apparent discrepancy before altering or attaching the affected pieces.
Have the installer complete and check the first shirt before sewing the rest. A correctly made patch can still end up tilted, placed on the wrong sleeve, or stitched through an area that should remain accessible. Use the department's placement reference rather than improvising a distance from a seam.
The lesson: inspect the patches before sewing and inspect placement before repeating it. Catching one incorrect installation is easier than correcting an entire uniform run.
What is this advice based on?
This advice rests on the patch production process, the digital mockup review, and the written order specifications. The EMS order is a hypothetical planning example, not a reported customer project or an official Fort Worth uniform standard.
In our production experience, the most useful early checks are artwork legibility at actual size, garment fit, attachment compatibility, and a clear approval record. A digital mockup communicates the proposed layout; it cannot establish exact physical texture, garment performance, or protective-equipment suitability. Those questions require the relevant specifications and, where necessary, a physical evaluation.
The lesson: keep the approved artwork, written size and backing specification, final mockup, and quantity together in one order record. That is the practical starting point when a replacement order is needed.