
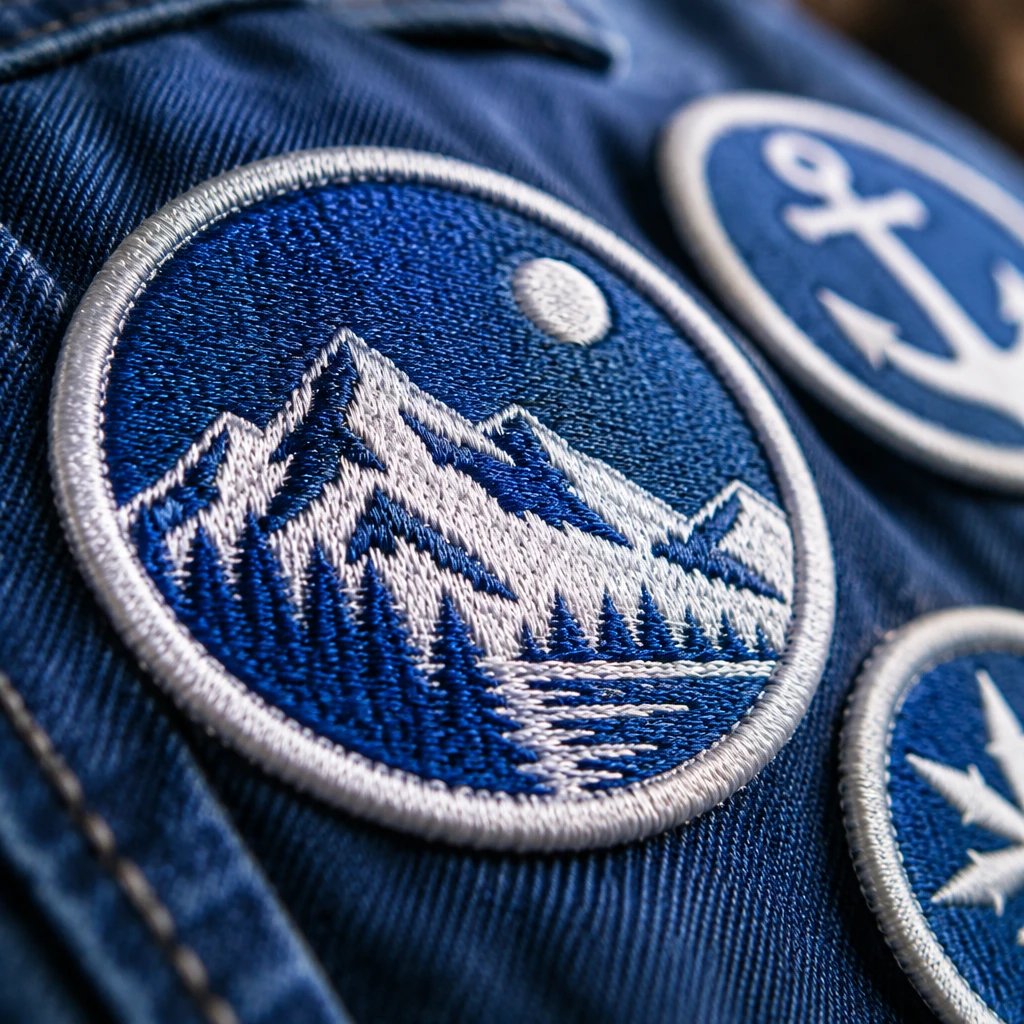
A lifted patch corner can catch during washing even when the embroidered face still looks new. If you're asking how do you wash a jacket with patches without ruining them, start with the jacket label and the patch attachment, then use cold water, mild detergent, and a gentle cycle only if every component permits machine washing. Repair loose edges first and air-dry according to the garment instructions.
Check the attachment before choosing a wash cycle
The attachment often sets the washing limit before the thread does. A sewn patch, a heat-bonded patch, and a removable patch can share the same embroidered design but need different handling.
Look around the perimeter and, where accessible, inside the jacket. A visible stitch line may indicate a sew-on attachment, although some patches are both heat-applied and stitched. A bonded underside without attachment stitches suggests an adhesive connection. Don't pry up a sound edge to investigate it. Check the order paperwork or ask whoever applied the patch.
Heat-seal backing is an adhesive layer that bonds a patch to compatible fabric under specified application conditions. It is not a promise that any iron, jacket, or wash cycle will work. Pressure, temperature, dwell time, fabric finish, and the support underneath the garment all affect the original bond.
In our production experience, separating the patch face from the attachment is the useful starting point. The face may tolerate gentle cleaning while a poorly applied corner does not. More detergent won't fix that corner, and washing it harder can turn a repairable edge into a partly detached patch.
How do you wash a jacket with patches without ruining them?
Use the least aggressive cleaning method allowed by both the jacket and the patches. For a fully machine-washable combination, inspect first, turn the jacket inside out, wash gently in cold water, and dry without unnecessary heat.
- Read the garment care label. Check any separate instructions supplied for the patches or their application. If one component requires professional cleaning, do not override it because the rest of the jacket is washable.
- Inspect every patch while the jacket is dry. Look for loose attachment stitches, lifted corners, damaged border thread, puckering, or an adhesive edge that has become tacky.
- Remove detachable patches and empty the pockets. Close zippers and secure fasteners according to the garment instructions. Keep exposed hook fastener away from embroidery and lining.
- Treat localized dirt only with a method suitable for the fabric and patch. Test an inconspicuous area first, and avoid scrubbing the border or saturating an uncertain adhesive bond.
- Turn the jacket inside out. If the garment instructions permit machine washing, use a suitably sized mesh wash bag when practical, leaving enough room for water to move through the jacket.
- Choose cold water, a gentle cycle, and mild detergent unless the garment requires a different approved method. Wash with compatible soft garments, not a crowded load of abrasive workwear.
- Remove the jacket promptly and support it while wet. Reshape the patch area without stretching it, then air-dry flat or on a suitable hanger as the garment instructions allow.
- Check the attachment again after the jacket is completely dry. Do not pick at a damp bond, pull test the corners, or iron a lifting patch without confirming the correct repair method.
Hand washing is not automatically safer. A long soak, vigorous rubbing, or twisting a heavy jacket can stress an attachment more than a short permitted gentle cycle. If the label allows hand washing, support the garment, keep handling light, and avoid wringing the patch area.
Match the cleaning method to the backing and face
Backing determines how the patch stays attached; the face determines what cleaning can do to its surface. Use both when setting care instructions, rather than treating all patches as washable embroidery.
| Patch construction | What to check | Cleaning approach | Main trade-off |
|---|---|---|---|
| Sew-on embroidery | Attachment stitches, thread condition, and jacket care label | Gentle machine washing may be suitable when every component permits it | Stitching provides mechanical attachment, but borders can still snag |
| Heat-applied embroidery | Adhesive specifications, fabric compatibility, and lifted edges | Follow the approved wash and drying instructions for the bonded assembly | A clean-looking face does not confirm a sound adhesive bond |
| Removable hook-and-loop | Whether the patch detaches and whether hooks remain exposed | Remove the patch; clean it separately only as permitted and protect exposed hooks | Removal simplifies jacket care, but hooks can abrade nearby fabric |
| Woven patch | Attachment method and perimeter finish | Use the garment-approved method while limiting abrasion at the edge | Fine detail does not make the perimeter immune to wear |
| Chenille patch | Raised yarn, backing, and varsity jacket materials | Use supplier-approved spot cleaning or professional care when required | The textured face can flatten or distort with rough handling |
| Leather or leather-like patch | Exact material, finish, and garment instructions | Follow material-specific care rather than a generic wash recipe | Water, heat, or cleaners may change appearance or flexibility |
| Polyvinyl chloride (PVC) patch | Attachment, stitched channels, and jacket compatibility | Clean the surface as permitted and protect the attachment during garment care | A water-resistant face does not make the whole jacket waterproof |
Don't choose a patch style on washing alone. A fine-lettered team badge may suit woven patches for detailed artwork, while a simpler club emblem may suit embroidery. Neither choice settles the care instructions until the backing, attachment method, and jacket fabric are specified.
Read the jacket label before protecting the patch
The jacket's care label remains the starting point, but adding a patch can introduce a stricter limit. You need a method that works for the completed garment, not just the blank jacket.
Cotton denim and washable canvas are often straightforward candidates for sewn embroidery, provided the actual garment label allows washing. They still move, shrink, and crease differently from a dense patch. A stiff emblem on a softer panel can make puckering more noticeable after cleaning, especially if the two materials respond differently to moisture.
A nylon windbreaker or coated rain shell is a different job. Heat application can be incompatible with the shell, and sewing introduces needle holes. I'd avoid treating an ordinary stitched patch as a waterproof installation. If the jacket's weather protection matters, consult the garment manufacturer or an appropriate alteration specialist before attaching anything.
Varsity jackets deserve their own pause. Wool bodies, leather sleeves, quilted linings, and chenille lettering can appear on the same garment. A washing method that suits one component may damage another. For those combinations, a cleaner familiar with decorated outerwear is often the right call, with all patch materials disclosed before cleaning.
Insulated jackets add drying requirements that a generic patch-care label may miss. Some require particular laundering and drying procedures to restore the insulation. If those procedures conflict with the patch instructions, don't improvise a compromise; ask the garment manufacturer and patch supplier for a compatible plan.
Keep detergent and stain treatment off uncertain edges
Use a cleaner approved for the jacket and patch materials, and avoid aggressive stain treatment around the attachment. Mild detergent is a conservative starting point for washable assemblies, not a universal instruction for every decorated jacket.
See your artwork as a custom USA patch before you buy. Free digital mockup in 12 hours — 5-piece minimum per design. We do not produce until you approve.
GET A FREE MOCKUPOrdinary soil and an oil stain are different problems. Don't keep increasing detergent because a greasy mark remains. Excess product can leave residue in dense stitching, while repeated brushing can fuzz thread or wear a border. Identify the stain and check what treatment the garment allows.
Bleach requires explicit permission from every affected component. Oxygen-based products are not automatically suitable either. Fabric softener can also conflict with technical outerwear care, so leave it out unless the garment instructions permit it. A familiar laundry product can still be wrong for a coated shell or an adhesive-backed decoration.
For a permitted spot-cleaning test, use a clean white cloth on a hidden area and stop if color transfers or the finish changes. Blot rather than grind dirt into the thread. A small successful test is useful, but it does not prove that a long soak or full wash will be safe.
Reduce rubbing without trapping the jacket
Turning the jacket inside out reduces direct rubbing on the patch face. It does not protect a failing bond or make a crowded wash load gentle.
Zippers, open hook fasteners, and rough garments create avoidable contact points. Wash a decorated team jacket with compatible soft items if its label permits that approach. I'd skip a mixed load containing tool-laden work pants or heavily soiled shop clothing; the cleaning demands are different before the patches enter the discussion.
A mesh bag helps limit contact, but size matters. Stuffing a bulky jacket into a small bag restricts movement and rinsing. For a large back patch, avoid folding the garment so the patch stays sharply creased throughout the wash. Let the panel sit as naturally as the load allows.
Raised embroidery and chenille need particular attention to abrasion. A smooth patch can rub against another surface with less exposed texture than a raised yarn face. That isn't a reason to ban all washing; it's a reason to verify the construction and avoid treating a letterman jacket like a plain sweatshirt.
Dry the jacket without making a new problem
Air-drying avoids unnecessary dryer heat when the garment permits it. Support the jacket in the position its care instructions recommend, and let the patch and fabric underneath dry completely before storage.
A wet jacket is heavy. Hanging one from a narrow hook can distort a shoulder or pull on a large decorated panel. Flat drying may suit some garments; a broad hanger may suit others. Don't twist the jacket to force water out, and don't clip a wet patch directly to a clothesline.
Keep it away from radiators and other concentrated heat. Avoid prolonged strong sunlight where fading or finish changes are a concern. The visible thread can feel dry before the denser layers underneath have dried, especially around a large backed patch.
A dryer is appropriate only when the jacket, patch, and attachment instructions all permit the specified setting. A low-heat label on the blank garment does not certify a later heat-seal application. If the information is missing, ask before using heat rather than treating the first wash as a test.
Repair a lifting corner before the next wash
A lifting corner needs an attachment repair, not a stronger wash cycle. Leave the jacket out of the machine until you know whether the failure is adhesive, stitching, or damage to the fabric underneath.
Do not reach straight for a hot iron. The original adhesive may require controlled conditions, and the jacket may not tolerate reheating. A household iron also applies uneven pressure over seams, pockets, and thick areas. Repeated heating without a plan can damage the shell while leaving the bond unreliable.
For a compatible washable denim or canvas jacket, perimeter stitching may be a sensible repair after the attachment is assessed. On a waterproof shell, leather panel, or insulated garment, that same repair can introduce other problems. Sewing is a tool, not a universal rescue.
Loose border thread needs a different approach from a loose attachment stitch. Don't pull it to see where it goes. A merrowed border is an overlocked thread edge that finishes the patch perimeter; cutting its structural threads can start further unraveling. Have the damaged area assessed before trimming anything beyond an obvious nonstructural thread tail.
Ready to spec type, size, backing, and quantity? Open the quote form for a free 12-hour mockup and USA shipping after approval.
GET A FREE MOCKUPBuild wash care into the artwork and order specs
Care planning starts before the patch is made. Tell the supplier what jacket will carry it, how it will be attached, and how the organization expects to clean the finished garment.
The digitizer converts artwork into stitch instructions, considering stitch direction, sequencing, underlay, and how the design will behave on its base material. Tiny lettering and narrow gaps may need adjustment. Simply adding more stitches is not always better; an unnecessarily dense design can become stiff and may distort its base.
At the stitching stage, production checks include thread coverage, registration between colors, and distortion around dense areas. During finishing, attention moves to the perimeter, loose threads, backing placement, and whether the finished shape matches the order. None of those checks replaces correct attachment to the jacket.
A merrowed border adds a rounded thread edge and suits many simple shapes. A cut edge can follow more detailed contours, depending on the material and finishing method. Narrow points and deep notches deserve attention because they create small areas that can catch or lift. I'd simplify a fragile-looking point on a frequently washed work jacket rather than preserve it just because the original drawing has one.
Example: a run club orders 40 patches for washable nylon jackets. A 3-inch emblem may fit the available chest panel, but that does not establish whether heat application is suitable or whether stitching affects the shell. The jacket model, placement, attachment plan, and care requirements belong in the specifications before the artwork is approved.
For a washable club jacket, a standard sew-on patch without extra backing may be enough if the fabric supports stitching. Paying for heat-seal backing adds little when it serves no installation purpose. If you're planning embroidered patches for jackets, request a free digital mockup with the jacket fabric and attachment method noted alongside the artwork.
Approve the design, then verify the finished jacket
A digital mockup confirms the planned appearance and documented specifications. It does not demonstrate wash durability, adhesive performance, or compatibility with a garment that has not been evaluated.
USA Customized Patches has a 10-piece minimum. A free digital mockup is provided in about 12 hours, before production. Production starts only after written approval. Typical production takes 7–12 business days, with the order-specific schedule confirmed before the job proceeds.
USA Customized Patches is open 24 hours a day, 7 days a week for quotes. Orders ship from Corona, CA, across the United States to all 50 states. Check the shipping information for patch orders when planning delivery; production time and carrier transit are separate parts of the schedule.
For a team or business issuing matching jackets, evaluate a representative decorated garment before applying patches to the whole group. Use the proposed attachment process and the intended care instructions. Inspect after drying for lifting, puckering, color transfer, border damage, and changes in the jacket fabric. A successful check reduces uncertainty but is not a lifetime guarantee.
Record the agreed care method with the order specifications so whoever distributes the jackets can pass it along. If the placement or attachment is still undecided, send the jacket details for a free digital mockup before approving the patch layout.
What this advice is based on
This advice rests on general patch-production processes, the digital mockup review, and the material and attachment details recorded in order specifications. It is not a substitute for the garment manufacturer's care instructions or testing of the completed decorated jacket.
Production review can identify a narrow border, an awkward placement, or an unspecified backing. It cannot establish how an unknown cleaner, fabric coating, or application process will behave. Keep the patch specifications with the jacket care information; when a corner lifts later, those records make the repair decision much less guesswork.