
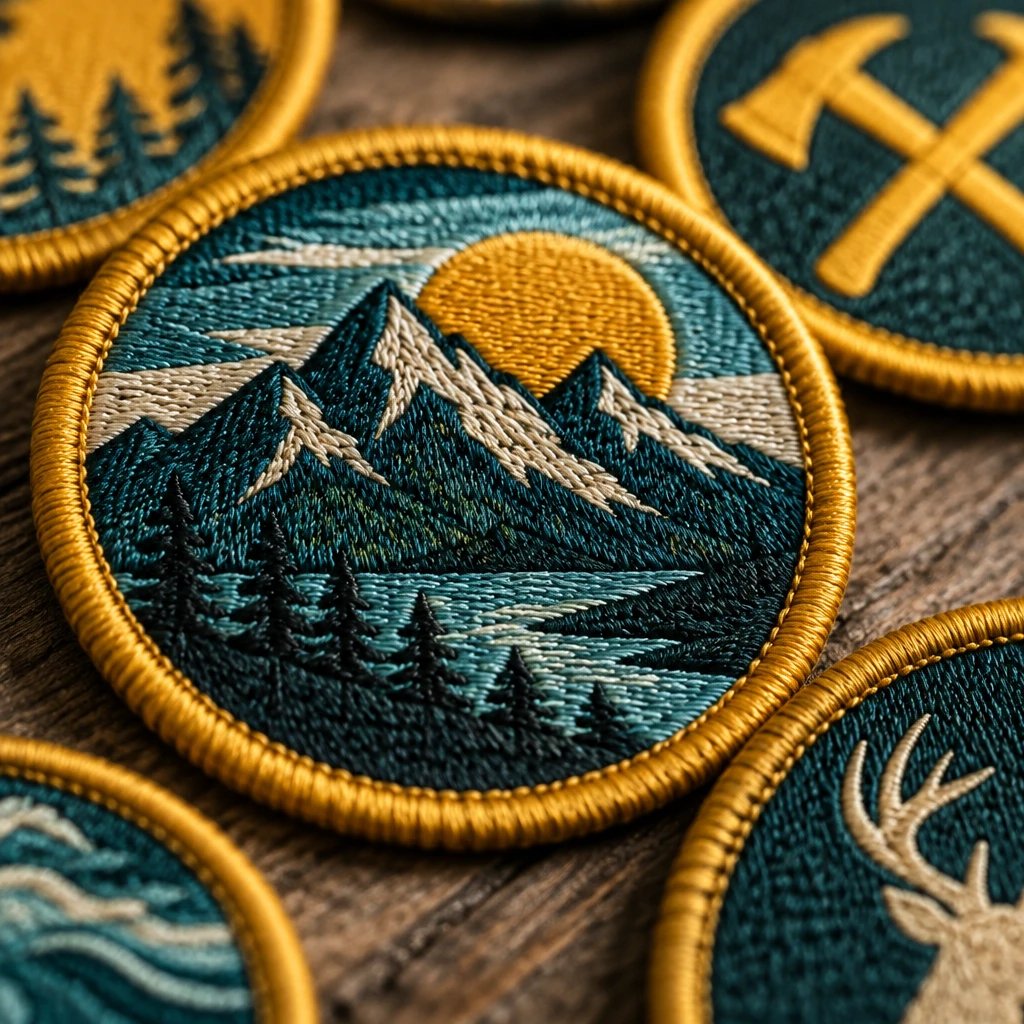
The most expensive mistake is approving festival patches too late for them to arrive before the event. When festivals order custom patches, the team should work backward from the receiving deadline, then confirm readable artwork, finished size, backing, and quantities before production. A patch that arrives after the merchandise tent closes has missed its main job.
USA Customized Patches has a 10-piece minimum and provides a free digital mockup before production, generally in about 12 hours. Production starts only after written approval. Typical production takes 7–12 business days, with the actual schedule confirmed for the order; transit needs its own allowance. We ship from Corona, CA, to all 50 states across the United States. Quotes are available 24 hours a day, 7 days a week.
When should festivals order custom patches for an event?
Set the required arrival date before requesting a quote, and work backward through shipping, production, and artwork approval. Mistake 1 is treating the festival opening date as the only deadline that matters.
On the finished patch: Nothing necessarily looks wrong. The embroidery can be clean, the date correct, and the border even, but the cartons arrive after volunteer kits have shipped or the merchandise inventory has already left for the venue.
Why it happens: Teams count the days needed to make patches but leave out internal approvals, transit, receiving hours, and packing. A sponsor logo change can sit in an email chain while everyone assumes the order is moving.
The fix: Give the supplier a required arrival date tied to the earliest real use, such as crew-kit packing or merchandise loading. Assign one person to approve the final proof and ask for the schedule to be reconfirmed after any change.
For example, say a festival opens on Saturday, but its merchandise manager loads the truck on Wednesday. Wednesday is already too late if the patches still need to be counted, sorted, and packed into staff envelopes. The useful deadline is the receiving date that leaves room for those tasks, not the date printed on the event poster.
Business days matter. So does the distinction between a ship date and an arrival date. I'd rather simplify a difficult patch shape early than assume a faster carrier service will recover time lost before production. Rush shipping cannot fix an approval that never happened.
How do you keep festival names and dates readable?
Reduce the artwork to a clear event name, a recognizable graphic, and only the supporting text people need. Mistake 2 is shrinking the entire festival poster onto a patch.
On the finished patch: Small letters close up, thin outlines merge with nearby stitches, and the festival year becomes a dark mark instead of a readable number. Sponsor names may be technically present but practically useless.
Why it happens: Artwork is approved while enlarged on a screen. Embroidery uses thread, not printer ink, so tight letter spaces, fine serifs, and tiny gaps do not behave like they do in a vector file.
The fix: Review the design at its actual finished dimensions and remove secondary copy before enlarging the whole patch. If small text is essential, compare a woven or printed construction instead of forcing it into embroidery.
For example, a proposed 3-inch patch might carry an event name, a landscape icon, a year, and a location. Adding the full performer lineup changes the job completely. I'd keep the lineup on the event program and let the patch identify the festival; a souvenir should still read after it is sewn onto a jacket sleeve.
Thread color choices also affect readability. A dark outline around dark lettering does not create much separation, even if the two colors look distinct when viewed as large swatches. Give the main words a contrasting field and leave space around them. In our production experience, simplifying crowded artwork usually helps more than adding another outline.
If the artwork still feels crowded, request a free digital mockup of the embroidered festival patch layout at the intended dimensions. Use it to decide what stays before the design reaches production.
Which patch material fits your festival artwork?
Choose the construction around the artwork and intended use, rather than asking every design to become embroidery. Mistake 3 is selecting a material for its appearance in a product photo without checking what it can reproduce.
On the finished patch: A photographic sunset becomes a set of flat color areas, tiny illustrated faces lose their features, or a fine-line map turns into a crowded tangle. The patch may be well made while looking unlike the approved creative direction.
Why it happens: Different patch constructions form images differently. Raised embroidery, fine woven yarn, printed surfaces, and molded polyvinyl chloride (PVC) do not offer interchangeable detail, texture, or flexibility.
The fix: Tell the production team which features must survive, such as a gradient, small lettering, raised texture, or wipe-clean surface. Choose the material that preserves those features, then approve any necessary artwork adjustments.
| Construction | Good festival use | Main trade-off | Check before approval |
|---|---|---|---|
| Embroidered thread on a fabric base | Bold event logos, denim-jacket souvenirs, staff shirt badges | Visible thread texture, but less suitable for tiny lettering and photographic detail | Letter spacing, stitch direction, open background areas |
| Woven yarn | Detailed event emblems, compact lettering, flatter merchandise patches | Finer detail than typical embroidery, but less raised texture | Small text, color separation, border treatment |
| Printed fabric | Poster-style artwork, gradients, illustrations, photographic designs | Preserves tonal detail, but does not provide the dimensional character of embroidery | Image resolution, color expectations, edge finish |
| Molded polyvinyl chloride (PVC) | Raised outdoor-themed badges and gear patches with a wipe-clean face | Thicker rubber-like construction; the patch face does not waterproof the garment | Relief levels, thickness, backing, attachment area |
| Chenille yarn | Large varsity-style letters and bold jacket graphics | Soft pile and volume, but a poor choice for compact festival schedules or fine text | Letter shape, overall size, supporting detail |
A lower-cost construction is enough when it delivers the artwork and use you actually need. There is no practical reason to add molded relief to a simple fabric souvenir just because it is available. Compare quotes using the same dimensions, quantities, and backing, since changing several specifications at once hides what is driving the price.
For a detailed crest, woven patches for fine lettering are worth reviewing before increasing the patch size. That can preserve a compact placement on a cap or shirt pocket without making the event name fight for space.
How do you check patch size on caps, jackets, and bags?
Check the finished patch outline on the actual item, including seams, curves, pockets, and closures. Mistake 4 is approving dimensions from an isolated artwork preview.
On the finished patch: A cap patch crowds the bill, a jacket badge covers a pocket opening, or a tote patch spans a seam that makes attachment awkward. The design looks balanced on the desk and oversized on the garment.
See your artwork as a custom USA patch before you buy. Free digital mockup in 12 hours — 5-piece minimum per design. We do not produce until you approve.
GET A FREE MOCKUPWhy it happens: Teams measure the artwork but not the usable placement area. A cap front curves, a jacket chest panel moves, and a bag may have a lining or zipper directly behind the proposed sewing location.
The fix: Cut out a paper version at the proposed finished width and height, then place it on the exact garment model. Photograph it straight on and from the side before approving the dimensions.
For example, a 3-inch-wide patch can look reasonable on a structured cap and still be too tall for its front panel. Width alone tells you very little about fit. Check the full outline, including the border and any projecting corners, rather than measuring only the central logo.
I'd skip one universal size if the same design is intended for a small cap front and a large jacket back. Separate sizes create additional order details to manage, but they can prevent a compromised design that fits neither placement well. Confirm the minimum and pricing for each proposed version instead of assuming all sizes count as one item.
A paper cutout tests footprint, not stiffness or drape. If those qualities are critical, ask whether a physical sample can be arranged and what it would add to cost and timing. The patch design gallery can help you compare proportions, but a photograph of somebody else's garment is not a fit test for yours.
Should festival patches use sew-on, iron-on, or hook-and-loop backing?
Choose the backing for the receiving fabric and the person who will attach the patch. Mistake 5 is assuming iron-on backing makes every patch suitable for every festival garment.
On the finished patch: Edges lift after wear, adhesive fails to bond evenly, or the garment develops a heat mark during application. A hook-backed patch may arrive with no compatible loop surface on the intended bag.
Why it happens: The order specifies a backing without specifying the garment. Coatings, stretch, curved panels, heat-sensitive fibers, and laundering conditions all affect the attachment decision.
The fix: Provide the garment material and care instructions before choosing a backing, then test the intended application method on a suitable sample. Use sew-on attachment when stitching is appropriate and a heat bond would be uncertain.
Sew-on backing is a patch construction intended for attachment with stitching rather than a heat-activated adhesive. For denim jackets and many canvas bags, it is the straightforward choice if someone can sew the patches on. It also avoids making a garment tolerate heat merely because the patch was ordered with adhesive.
Iron-on backing is a heat-activated adhesive layer that bonds a patch to compatible fabric under the specified application conditions. It can be useful for approved garments, but a curved cap is harder to press evenly than a flat cotton panel. Follow the patch application instructions and garment restrictions; there is no universal temperature setting for every combination.
Hook-and-loop backing is a removable fastening system that needs matching hook and loop surfaces. It makes sense for compatible gear panels, not an ordinary T-shirt with nothing for the hooks to engage. Confirm whether the order includes the receiving loop piece and who will attach it.
Souvenir sales create another complication: buyers bring their own garments. Label the backing and provide appropriate application guidance rather than promising universal compatibility. I'd avoid an improvised heat-press station at a festival unless the team has trained operators, controlled conditions, and a way to reject unsuitable garments.
How should you finish the edge of a shaped festival patch?
Match the border to the outline and leave room for it in the artwork. Mistake 6 is drawing a detailed silhouette first and treating the edge finish as an afterthought.
On the finished patch: Narrow points look rounded, small notches disappear, or the border crowds lettering near the perimeter. Thin extensions can also become awkward to attach and more exposed to handling.
Why it happens: The artwork uses the entire shape as image space, but the finished patch needs a workable edge. Intricate silhouettes also create more opportunities for snagging than a simple circle, rectangle, or broad shield.
The fix: Ask the production team to confirm the border method and show its footprint on the mockup. Simplify narrow projections and move important artwork inward before approving the outline.
A merrowed border is a raised overlocked thread edge that wraps around a patch perimeter. It gives many simple shapes a familiar framed finish. It is not the right default for every tight inside corner or highly detailed silhouette.
A cut edge follows the patch outline without the same wrapped border profile, with the exact finishing method depending on the construction. That can suit more detailed shapes, but it does not remove the need to consider handling, attachment, and fragile-looking projections.
For example, a music festival might propose a guitar-shaped patch with a long, narrow neck. The concept reads immediately, but the neck may be the least practical part to sew onto a moving garment. I'd consider placing the guitar inside a broader badge shape unless the silhouette is central to the merchandise concept.
How do you divide patch quantities between staff and merchandise?
Count each design, size, colorway, and backing combination separately, then distinguish committed use from stock intended for sale. Mistake 7 is approving one total without a version-by-version quantity list.
On the finished patch: Individual pieces look correct, but the shipment contains too many general-admission souvenirs and too few staff identifiers. A volunteer may receive a collector edition because the boxes were never separated by use.
Why it happens: Different departments request patches through different messages, and an updated total replaces the detailed breakdown. Similar artwork makes the error easy to overlook, especially when only a small word or border color changes.
Ready to spec type, size, backing, and quantity? Open the quote form for a free 12-hour mockup and USA shipping after approval.
GET A FREE MOCKUPThe fix: Create one quantity list with a distinct version name and complete specification for every item. Have the event owner approve that breakdown along with the artwork, not in a separate conversation.
For example, say a festival plans 40 volunteer patches, 20 crew patches, and 100 souvenir patches. Those are three inventory purposes, even if all share the same central logo. If the crew version also changes backing, note that explicitly rather than assuming the factory or receiving team will infer it.
Do not order a large surplus solely to chase a lower price per piece. Event-dated stock can lose usefulness quickly, while an undated festival emblem may still work for later merchandise or returning volunteers. Ask for the total in dollars for each realistic quantity option and compare it with the amount the event can actually use.
- Separate patches already promised to staff, performers, sponsors, or volunteers from merchandise stock.
- Identify versions with clear names, such as CREW, VOLUNTEER, and SOUVENIR, rather than relying only on color.
- Record finished dimensions, border, backing, and piece count beside each version.
- Decide which designs need the event year and which can remain useful after the festival.
- Confirm how different versions will be identified in the shipment so receiving does not become a sorting exercise.
What must the final patch approval include?
Approve the artwork and the order specifications together, including delivery details. Mistake 8 is replying “looks good” to an attractive image while leaving dimensions, backing, or the shipping address unresolved.
On the finished patch: The design matches the picture, but the patch is the wrong size, has the wrong backing, or carries an outdated event date. Sometimes the patches are correct and the shipment is headed to a venue that cannot receive packages.
Why it happens: A digital image cannot communicate every physical property or shipping instruction. Separate email threads, old attachments, and casual approvals make it unclear which file and specifications are final.
The fix: Send written approval that identifies the final mockup version and confirms the complete order specification. Include the receiving address, contact, and required arrival date in that same approval record.
A digital mockup is a visual proof that shows the proposed layout, proportions, and color placement before production. It is not a photograph of the finished patch, and it cannot demonstrate fabric feel, attachment strength, or exact thread appearance under venue lighting.
That distinction matters for sponsor colors. A screen preview can show where the red thread goes, but monitor settings and thread sheen affect how that red appears. If a close color match is essential, provide the reference and ask how it will be evaluated; do not treat an emailed image as a physical color standard.
Venue receiving deserves its own check. Some event sites have no staffed delivery point until setup begins. Others route packages through a contractor or central dock. Use an address that can accept the shipment during the expected delivery window, and review the United States patch shipping information before committing to the plan.
If several people have edited the design, send the current file and order notes through the festival patch quote and mockup request for a free digital mockup. Bring the revisions into one proof instead of asking production to reconstruct the final design from an email trail.
How do you hand off a festival patch order without missing a specification?
Use one approval packet that follows the patch from artwork through receiving. The packet should let another team member check the order without asking what you meant.
- Name the use case. State whether the patches are retail souvenirs, volunteer identifiers, crew garment badges, or collectible giveaways.
- Attach the final artwork. Identify the version and remove obsolete files from the approval message; check the event name, location, and year separately.
- Record the physical specifications. Include finished width and height in inches, patch construction, border treatment, backing, and any garment compatibility notes.
- List quantities by version. Keep every size, design, and backing combination visible, with an approved piece count beside it.
- Confirm the financial scope. Ask what the quoted total in dollars includes, including any applicable shipping, packaging, sample, or rush charges rather than assuming they are covered.
- Check the schedule and receiving details. Confirm the required arrival date, recipient, address, receiving hours, and any venue-specific delivery instructions.
- Approve in writing. Identify the final mockup and specifications, then retain that record for the person who will inspect the delivery.
- Inspect before distribution. Compare the received patches with the approved versions, check quantities and visible workmanship, and report discrepancies before patches are scattered among staff or merchandise bins.
Keep the receiving check practical. Look at spelling, dimensions, backing, border consistency, and version counts first. If attachment is part of the event team's work, test the planned method before processing the whole batch. Finding a compatibility problem on an unissued sample is easier to manage than finding it on every crew jacket.
What this advice is based on
This advice rests on the patch production process, the digital mockup step, and the written order specifications. In our production experience, artwork detail, garment placement, border geometry, attachment method, and approval timing need to be considered together because changing one can affect the others.
The examples are planning illustrations, not reports of named customer orders. Material and backing recommendations still depend on the actual artwork, garment, and intended use. A physical sample or application test can answer questions that a digital proof cannot, particularly when color, stiffness, or fabric compatibility is critical.
If you only fix one thing, replace the festival opening date with a real required arrival date and assign one person to own approval. Give that person the final artwork, garment choice, quantity breakdown, and receiving details together. Do it before approving production, while changes are still decisions rather than replacements.