
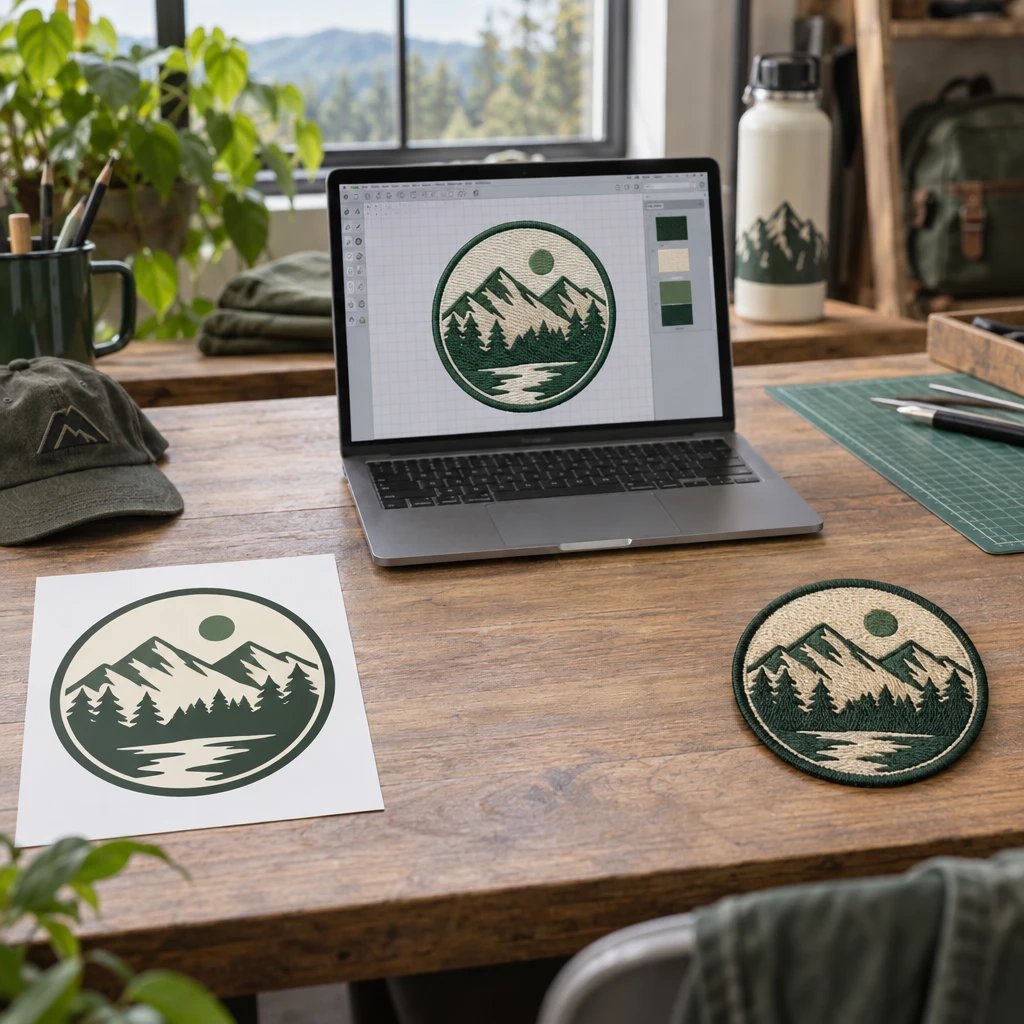
The most expensive mistake is approving an entire patch run that cannot be attached safely to the clothing you plan to sell. When online brands and streetwear order custom patches, they should match the material and backing to the actual garment, check the artwork at finished size, and approve the complete specification before production.
A patch can look right on its own and still be wrong for the drop. A dense badge can drag a lightweight jersey pocket, a heat-applied backing can conflict with a jacket coating, and a cap patch can extend beyond the area your sewing shop can reach. Those are product-development problems, not defects you can solve by changing the shipping address.
USA Customized Patches has a 10-piece minimum. We provide a free digital mockup before production, generally in about 12 hours, and produce only after written approval. Orders ship nationwide from Corona, California, to all 50 states in the United States. Start with the garment and work outward.
How should online brands and streetwear order custom patches for the actual garment?
Choose the attachment method from the garment fabric and construction, not from convenience alone. The first mistake is treating iron-on backing as a universal solution for hoodies, caps, nylon shells, and everything else in the collection.
Mistake 1: Choosing backing before checking the fabric
What it looks like: The finished patch has lifting corners, a rippled surrounding panel, or an attachment that feels much stiffer than the clothing. Sometimes the patch looks fine, but the garment underneath has a heat mark. On a removable design, the hook side may arrive without anyone having planned where the matching loop panel will go.
Why it happens: Iron-on backing is a heat-activated adhesive layer that bonds a patch to compatible fabric under specified application conditions. It is not permission to heat every garment. Coatings, stretch, surface texture, and fabric heat limits all matter, while a curved cap presents different pressure and access problems than a flat denim jacket.
The fix: Give the patch supplier and attachment shop the garment composition, care label, placement photo, and intended laundering method before selecting backing. Test the proposed attachment on a spare garment or matching fabric, using the supplied application instructions.
I'd favor sew-on construction for a denim jacket intended for repeated wear, provided the sewing route is accessible. Hook-and-loop is the right call when the design is meant to be swapped, but it adds thickness and requires a compatible garment-side panel. For a coated shell, don't guess: sewing can puncture the coating, while heat can damage it. The garment construction decides which compromises are acceptable.
Which patch material will keep your artwork readable?
Select the patch process around the smallest important feature in the artwork. The second mistake is ordering embroidery for a design whose identity depends on fine lettering, photographic shading, or narrow gaps that thread cannot reproduce cleanly.
Mistake 2: Forcing every design into embroidery
What it looks like: A detailed mascot loses its facial features, a thin outline becomes uneven, or a smooth gradient turns into separate thread-color areas. The patch may be well made and still fail to look like the approved brand artwork because the chosen process changes how those details appear.
Why it happens: Embroidery builds an image with stitches that have physical width, direction, and relief. Woven construction forms detail within a flatter textile surface. Printing puts the image onto a suitable patch face rather than reconstructing every shape with visible embroidery stitches. These are different tools, not quality grades.
The fix: Identify the details that cannot change, then choose the process that preserves them at the intended size. Keep embroidery for artwork that benefits from raised thread texture, rather than paying for it simply because it feels like the default.
| Patch construction | Good match | Trade-off to check |
|---|---|---|
| Embroidered thread on a fabric base | Bold logos, team lettering, and jacket badges where stitch texture is part of the look | Fine gaps and small lettering may need simplification; dense stitching adds body |
| Woven textile | Compact labels and linework that need a flatter, finer appearance | Less raised texture than embroidery; tiny text still needs a finished-size review |
| Printed fabric | Gradients, illustrations, and artwork that depends on continuous color | The visual result is flatter; review the base material and care requirements |
| Polyvinyl chloride (PVC) | Raised molded graphics for utility styling and removable gear badges | Rubber-like body can be too stiff for lightweight clothing; attachment needs planning |
| Chenille | Large varsity-style letters and plush jacket or sweatshirt graphics | Pile takes up visual space and is poorly suited to fine text |
Compare woven patch construction when a compact label needs finer lines, or printed fabric patches when a gradient is essential. A simpler embroidered design with exposed base fabric may be enough for a bold mark. More stitching is not automatically a better purchase.
If raised thread is the intended look, send the garment type and finished dimensions with a request for a free digital mockup of your embroidered patches. That gives the artwork review a useful target instead of asking someone to guess the scale.
How do you size a patch before ordering a full run?
Measure the usable placement area on a physical garment and compare it with an actual-size paper outline. The third mistake is approving dimensions from a floating product mockup that has no reliable relationship to the clothing.
Mistake 3: Treating a screen preview as a sizing test
What it looks like: A cap badge crowds the brim, a sleeve patch wraps farther around the arm than expected, or a hoodie chest mark looks undersized next to the pocket. A back patch can also cross a jacket seam that prevents it from sitting flat.
Why it happens: Screens resize artwork, garment mockups use different proportions, and flat width is not the same as usable space on a curved panel. Brands also reuse one patch size across garments without checking the smallest or most constrained placement.
The fix: Cut a paper shape to the proposed finished dimensions, including the border, and place it on each intended garment. Photograph it straight on and at an angle, then check the placement with whoever will attach the patches.
For example, compare a 3-inch-wide rectangle with a 2.5-inch-wide version on the same cap before deciding. Those are test sizes, not a universal cap specification. A tall crown, center seam, curved front, or internal support can change what fits and what the sewing equipment can handle.
See your artwork as a custom USA patch before you buy. Free digital mockup in 12 hours — 5-piece minimum per design. We do not produce until you approve.
GET A FREE MOCKUPCheck garment sizes, too. A patch that sits comfortably on an adult oversized hoodie may dominate a smaller team garment. If one patch size must serve the entire collection, choose it from the tightest usable placement, then confirm that it still reads well on the larger pieces.
How do you keep small lettering from closing up?
Simplify the lettering and protect the spaces inside and between characters before adding size or stitch density. The fourth mistake is preserving every word from the screen logo even when the patch has no room for it.
Mistake 4: Shrinking a full brand lockup onto a small patch
What it looks like: Letter centers fill in, neighboring strokes touch, and a founding date becomes a row of indistinct marks. Thin script may lose its connecting strokes. The large brand name survives, but the smaller slogan no longer earns its place.
Why it happens: A logo designed for a website header can contain details that do not translate into thread at garment scale. Font weight alone does not solve the problem; wider strokes can actually close the remaining open spaces. Contrast and stitch direction also affect readability.
The fix: Remove secondary wording, open the spacing, and replace delicate lettering with a simpler form before approving the patch. If the exact small text must stay, ask for a woven or printed alternative at the same finished dimensions.
For example, a run club ordering 40 patches might keep its club name and city on the patch, then move the event date to a garment print or hangtag. That preserves the useful identity without turning the patch into a miniature flyer. I'd remove a decorative tagline before making the whole chest badge larger.
In our production experience, clear negative space matters as much as the letter itself. Review the centers of letters, the separation between lines of text, and the gap between lettering and border. A digital enlargement is useful for spotting problems, but the final judgment belongs at the intended physical size.
How do you control thread color and embroidery coverage?
Specify the thread colors, visible base fabric, and intended stitched areas separately. The fifth mistake is assuming that a screen color and a fully filled background will automatically reproduce the look and feel of a garment graphic.
Mistake 5: Approving color without approving the patch surface
What it looks like: The logo blends into the base, the background looks shinier than expected, or the patch feels too rigid for a soft sweatshirt. Two areas shown as the same color in a digital drawing can look different when one is thread and the other is exposed fabric.
Why it happens: Thread reflects light differently depending on stitch direction and viewing angle. Fabric has its own texture and color response. A monitor cannot reproduce those effects reliably, and filling the entire background changes both the surface and the patch's body.
The fix: Mark which areas are stitched and which remain exposed, then approve the thread and base selections as distinct specifications. When color matching or hand feel is critical to the collection, ask what physical reference or sample review is available and confirm any added cost or time.
Exposed base fabric is often the sensible choice for a bold logo with a quiet background. Full embroidery can be right when the stitched surface is intentional, but I'd skip it on a lightweight garment if it adds stiffness without improving the design. Ask for both constructions to be quoted in USD when either could work; bigger and denser designs generally require more production work.
Which border works with your patch shape and sewing plan?
Match the edge treatment to the shape, then make sure the attachment stitch has somewhere sensible to go. The sixth mistake is drawing an intricate outline without planning how its edge will be finished or sewn.
Mistake 6: Leaving border decisions until the artwork is approved
What it looks like: Tight corners become rounded, a narrow projection looks bulky, or the attachment seam cuts across important artwork. A small badge can lose noticeable interior space when its finished border is wider than the designer allowed.
Why it happens: A merrowed border is an overlocked thread edge that wraps the patch perimeter. It gives simple shapes a familiar raised rim, but it is not suited to every tight notch or complex contour. A cut edge allows a different silhouette, while its finishing method depends on the patch construction.
The fix: Confirm the border type and finished outside dimensions before final approval, and simplify contours that cannot be finished cleanly. Have the attachment shop identify its intended stitch path so the artwork stays clear of that route.
For example, a simple oval jacket badge can suit a merrowed edge, while a sharply contoured mascot may need a cut edge and revised points. Neither choice is inherently premium. The useful question is whether the border supports the design and leaves an attachment path that the sewing operator can follow consistently.
Watch patch placement near pockets and linings. A neat perimeter stitch is not much help if it closes a usable pocket or catches an inner layer that was supposed to remain free. Ask about access before ordering, especially on finished caps and lined outerwear.
What must the final patch approval include?
Final approval should identify one artwork version and one complete production specification. The seventh mistake is approving the appearance in one message while leaving size, backing, or quantity scattered across earlier conversations.
Ready to spec type, size, backing, and quantity? Open the quote form for a free 12-hour mockup and USA shipping after approval.
GET A FREE MOCKUPMistake 7: Approving a picture instead of the complete order
What it looks like: The patch has the right logo but the wrong backing, an old tagline returns, or the border color differs from the final brand decision. These errors are frustrating because the finished item can match one part of the conversation perfectly.
Why it happens: Multiple team members send revisions, file names do not identify versions, and a casual approval leaves unclear which document governs production. A digital mockup shows the planned design and listed specifications; it does not physically test thread texture, flexibility, or adhesion on the garment.
The fix: Consolidate the final artwork and specifications into one approval record, with one person responsible for signing off. Recheck the updated mockup after any change that affects size, wording, colors, shape, or construction.
- Identify the final artwork file and remove superseded versions from the approval message.
- Confirm finished width and height in inches, including the border, and state the intended orientation.
- Read every word and numeral, then check the artwork at actual size rather than only enlarged.
- Confirm patch material, visible base fabric, thread colors, border construction, and backing.
- Confirm quantity, any distinct versions, delivery address, and the date the attachment shop needs the patches.
- Provide written approval only when the mockup and order specifications agree; request a corrected proof if they do not.
USA Customized Patches starts production only after written approval. If you need the specification pulled together, send the artwork, garment details, and placement dimensions through the patch artwork and quote contact for a free digital mockup before committing to production.
How do you schedule patches for a clothing drop?
Work backward from the date finished garments must be ready, not from the date patches need to arrive. The eighth mistake is treating patch delivery as the end of production when sewing, inspection, photography, and packing still remain.
Mistake 8: Building the launch calendar around an unapproved design
What it looks like: The patches themselves may be correct, but attachment gets rushed, placements vary between garments, or the brand has nothing ready for its product shoot. An unresolved proof can also push the order into a timing problem before manufacturing starts.
Why it happens: Brands count from the first quote request instead of approval, assume shipping is included in every lead-time figure, and forget that the garment decorator has a separate schedule. A patch order and a finished clothing order are not the same production milestone.
The fix: Confirm what the quoted lead time includes, then reserve separate time for shipping, attachment, inspection, and packing. Do not set an irreversible launch commitment against artwork that is still changing.
USA Customized Patches lists a typical production window of 7–12 business days after written approval; confirm the schedule for your construction and quantity before relying on it. The free digital mockup is generally provided in about 12 hours, but revisions and approval take their own time. Quote requests are open 24 hours a day, 7 days a week; that does not make every calendar day a production or transit day.
Review the nationwide patch shipping details and confirm the delivery address before approval. Orders ship from Corona, California, across all 50 states. Transit depends on the destination and service, so a nearby attachment shop and a remote delivery address should not be scheduled as if they are identical.
For example, if a club needs 40 finished jackets for an event, its usable deadline is the date those inspected jackets must be ready, not the date a carton of patches reaches the sewing shop. Confirm whether the quoted quantity includes only sellable units or also the pieces you intend to use for attachment testing and product photography.
How we know this
This advice rests on the patch-production process, the digital mockup review, and the order specifications that guide manufacturing. In our production experience, checking construction and placement together is more useful than judging artwork without its garment context.
The mockup can document layout, dimensions, colors, border, and backing. It cannot establish physical wash performance, exact screen-to-thread color appearance, or attachment compatibility by itself. Those questions need the appropriate material references, application instructions, and, when necessary, a physical test on the intended garment.
If you only fix one thing, check the actual garment before approving the patch. Put an actual-size outline on it, confirm the attachment method, and give the same specification to the patch supplier and sewing shop. Do that while changes still belong in the artwork, not in a box of finished inventory.