
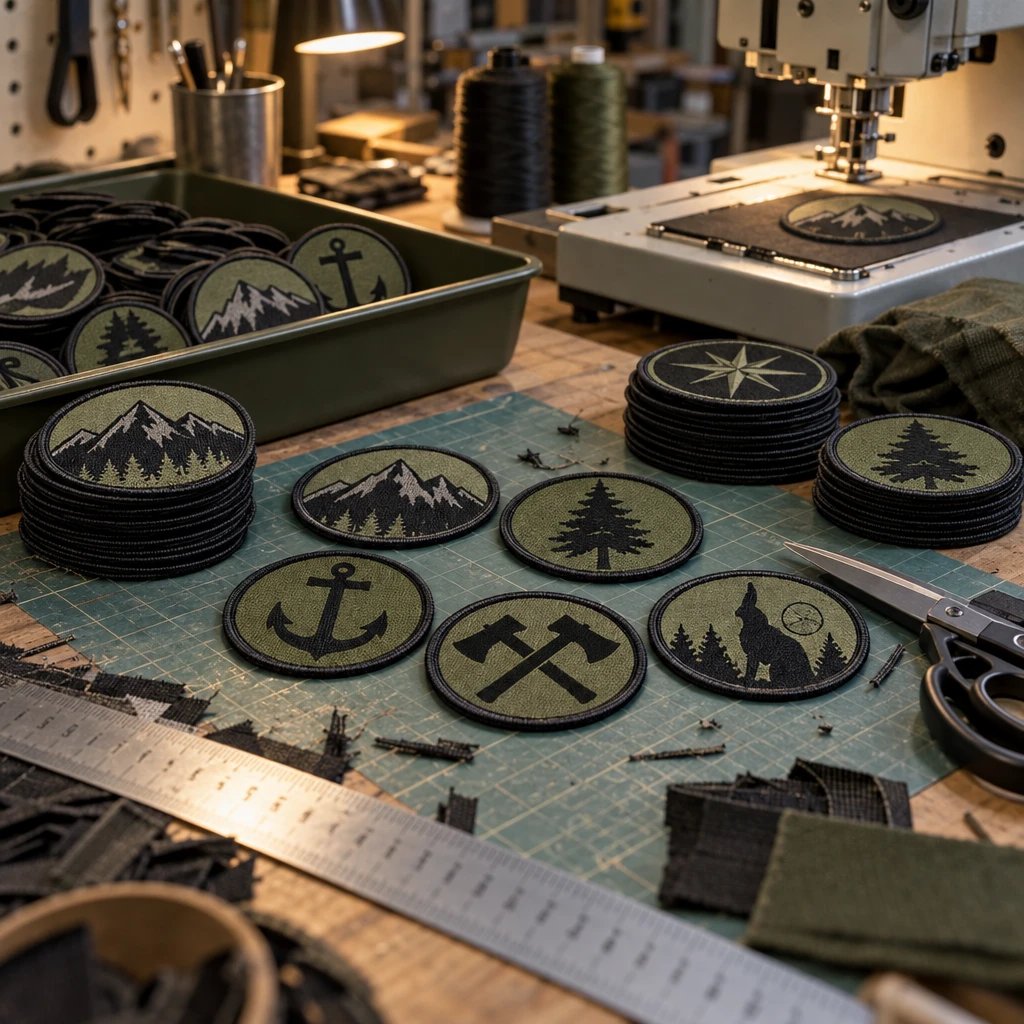
For United States teams, brands, clubs, and businesses, this guide explains what causes woven patch fading and which fixes are worth trying. Sunlight, incompatible wash products, and repeated abrasion can change a patch's appearance, while dirt or detergent residue can imitate fading. Inspect the patch before treating it, because cleaning may remove a film but won't reliably restore lost thread color.
What causes woven patch fading?
Woven patch fading can come from light exposure, cleaning chemistry, and repeated wear, sometimes acting together. The useful first step is separating actual color loss from a surface problem that only looks like fading.
A woven patch is a textile badge that forms its design by interlacing fine colored threads. Many use polyester yarn, but the actual fiber, colorant, finish, and construction should be confirmed from the order specifications rather than guessed from the patch's appearance.
The location of the change matters. An exposed shoulder patch on an outdoor work jacket has a different history from a club badge stored in a drawer. A pale stripe beneath a backpack strap points toward rubbing. An evenly dull face after laundry suggests checking the wash process before blaming sunlight.
Don't diagnose by color alone. In our production experience, the exposure history and condition of the face threads are more useful than a phone photo by itself. Check when the change first appeared, what happened immediately before it, and whether unused patches from the same order look different.
Is my patch really faded, or does it just need cleaning?
A patch may look faded because residue, dust, or disturbed surface fibers are scattering light. Actual fading changes the visible color of the yarn; cleaning a surface film and restoring yarn color are different jobs.
Inspect the patch dry in indirect daylight. Turn the garment slowly and look across the face rather than only straight down at it. A chalky film, lint trapped between threads, or a shiny rubbed area can become easier to see as the angle changes.
Compare it with an unused patch if you have one. Use the same light and place both on the same background. A screen image isn't a dependable physical color reference, especially when the phone automatically adjusts brightness and white balance.
The trade-off is that cleaning can help identify residue, but unnecessary scrubbing may create another problem. Start with observation, not a stiff brush. Check whether the dullness sits on the surface, follows a contact area, or affects entire yarn colors across the design.
Can sunlight fade a woven patch on a hat or jacket?
Yes. Repeated sunlight exposure can change textile color, although the rate depends on the yarn, colorants, exposure, and surrounding conditions.
An outdoor team cap gets light from above and from the front. A jacket hanging beside a bright window can receive uneven exposure even when nobody is wearing it. Those patterns can leave one side of the patch looking older than the other.
Storage is the simplest variable to control. Keep spare patches and off-season uniforms in a dry, shaded location rather than on a dashboard or a sunlit display shelf. I'd skip a generic protective spray unless its compatibility with the patch and garment is established. A coating can change sheen or leave marks without providing the protection you expected.
For outdoor uniforms, explain the use case before ordering. Fine woven detail may still be the right choice, but it isn't a reason to assume permanent color outdoors. Check whether the supplier has documented lightfastness information for the specified material. A statement that a patch is durable is not a substitute for that information.
Why did my patch look faded after washing?
A patch that looks pale after washing may have detergent residue, chemical discoloration, or abrasion from the wash load. One wash can reveal a problem, but the timing alone doesn't identify its cause.
Look at the laundry products first. Chlorine bleach, stain removers, and other treatments may be unsuitable for particular yarns, finishes, adhesives, or garment fabrics. Oxygen-based products aren't automatically safe either. Follow the applicable care instructions instead of treating every colored textile the same way.
Next, consider the load. Open hook-and-loop fasteners, metal hardware, and rough workwear can rub a patch face. A fine-lettered badge on a lightweight polo shouldn't be treated as though it were a shop rag.
Residue may improve with an appropriate rinse when the garment and patch permit washing. Chemical color loss generally won't. Check the whole garment: pale spots near a stain-treatment area suggest a different cause from an evenly dusty-looking patch with intact, smooth threads. Keep the product names and washing instructions available if you ask the supplier to review the issue.
Can dryer heat damage the patch even if the color is fine?
Yes, unsuitable heat can affect a patch's backing, shape, or surface without producing straightforward color fading. Edge lifting, puckering, and changes in sheen deserve a separate inspection from color loss.
An iron-on backing is a heat-activated adhesive layer that bonds a patch to a compatible surface under specified application conditions. It doesn't make the finished garment tolerant of every dryer or ironing setting. The garment fabric, patch face, border, and adhesive all place limits on care.
Don't re-press a pale patch simply because heat applied it originally. Additional heat won't put missing color back into the yarn, and it may flatten the face or worsen a backing problem.
Where the care instructions allow it, air drying avoids a dryer heat cycle, though it takes longer and still requires a suitable drying location. Check for curling, bubbles, exposed adhesive, and garment distortion before deciding that the only problem is fading. If the edge has lifted, resolve the attachment issue rather than continuing to wash a partly detached patch.
See your artwork as a custom USA patch before you buy. Free digital mockup in 12 hours — 5-piece minimum per design. We do not produce until you approve.
GET A FREE MOCKUPWhy are the patch edges lighter than the center?
Lighter edges often point to localized wear, contamination, or differences between the border and face materials. The pattern is a clue, not proof that the entire patch has lost its color.
A merrowed border is a wrapped thread edge that gives a patch a rounded perimeter. A cut edge has a lower profile, with its finishing method depending on the material and shape. Neither border should be assumed immune to friction.
Think about where the badge sits. A jacket cuff brushes desks. A backpack badge rubs against seats. A cap patch may repeatedly contact a storage hook or another cap. Raised edges can take contact before the center does.
A heavier border can give a conventional uniform patch a defined outline, but it also adds bulk. I'd avoid adding border thickness just to hide a wear problem caused by placement. Check for fuzz, broken yarn, and concentrated wear on the side nearest a strap or seam. A border and a woven face can also use different threads, so their aging need not look identical.
Can I restore a faded woven patch without replacing it?
You may be able to remove the residue making a patch look faded, but actual yarn color loss usually isn't reliably reversible at home. Markers, fabric dye, and paint are poor fixes for a multicolor woven design.
Fine letters leave little room for error. A coloring product can spread into the background, change the feel of the face, or transfer to the garment. Dyeing the whole badge can affect different threads unevenly and may also stain the surrounding jacket or cap.
I'd skip recoloring a team logo that needs to match other uniforms. A patch that is slightly pale but readable is often less distracting than a dark repair line through small lettering. If the badge has sentimental value, limiting further wear may be a better choice than experimenting on the original.
Replacement makes more sense when the design is no longer legible, yarns are damaged, or the patch needs to match a current uniform standard. Check how it's attached before removing it. Sew-on patches leave stitch holes; adhesive-backed patches may leave residue, and either can reveal a less-weathered area underneath.
What's the safest way to clean a dull-looking woven patch?
Use the gentlest cleaning method allowed by both the patch specifications and the garment's care label. If those instructions are missing or conflict, get clarification before applying water, detergent, or stain treatment.
A patch attached to a washable cotton work shirt isn't the same cleaning job as one sewn to leather, a structured cap, or a coated rain shell. The material underneath matters as much as the patch face.
- Inspect the patch dry. Photograph the face, border, and surrounding fabric in indirect daylight before changing anything.
- Read the garment care label and find the patch's material and backing instructions. Identify the more restrictive requirement.
- If permitted, gently remove loose surface dust or lint without pulling at the face threads. Avoid aggressive brushing.
- Test any allowed cleaner on an inconspicuous area. A successful small test reduces uncertainty but doesn't prove every color or component will react identically.
- If washing is permitted, use a suitable mild detergent and the approved method. Avoid concentrated treatment directly on the badge unless specifically allowed.
- Rinse and dry as the instructions permit. Judge the result only after the patch is fully dry, under the same lighting used for the first inspection.
Stop if color transfers, the face distorts, or adhesive begins to release. The trade-off is patience: gentle care may not remove a stubborn stain, but forceful cleaning can leave permanent damage. Check the surrounding garment for changes as well as the badge itself.
Does the backing make a woven patch fade faster?
Backing doesn't determine face colorfastness by itself, but it changes how the patch can be attached, removed, and cared for. A good backing choice reduces avoidable handling problems rather than making the yarn fade-proof.
Sew-on attachment is the right call for many frequently worn jackets and work shirts when the garment can accept stitching. It avoids relying on a heat bond, but it still leaves the patch exposed to the garment's wash cycle.
Hook-and-loop backing can let you remove a badge before laundering the garment, provided that care arrangement fits the uniform system. The loose patch then needs its own appropriate cleaning. Exposed hooks can snag a woven face, so don't toss detached patches into a bag with uncovered hook surfaces.
Iron-on backing can be convenient on compatible fabrics. Pressure-sensitive adhesive may be enough for a temporary display use, but I'd skip it as the default for a repeatedly washed team uniform. Check both attachment compatibility and care limits before ordering. A lower-cost backing isn't a saving if it requires constant repair or forces an unsuitable cleaning method.
Should I replace a faded woven patch with embroidered or PVC?
Choose a replacement construction for the artwork and use conditions, not on the assumption that another patch type can't fade. Woven, embroidered, printed, and polyvinyl chloride (PVC) patches solve different problems.
Keep woven patches for fine lettering on the shortlist when small type and a flatter face matter. Embroidery adds thread texture, while PVC removes the woven textile face from the equation but introduces a different feel, thickness, and artwork style.
| Patch construction | Useful fit | Main trade-off | What to check |
|---|---|---|---|
| Woven | Detailed club logos, small lettering, and low-profile badges | Fine face threads can show abrasion; textile color performance depends on the specified yarns | Letter clarity at actual size, yarn specifications, placement, and care |
| Embroidered | Bold team marks and textured jacket or cap badges | Raised stitching adds texture but may require simplifying small lettering | Stitch layout, thread colors, backing, and exposure conditions |
| Printed | Gradients and artwork with photographic detail | The print system and surface determine care and appearance over time | Print method, substrate, cleaning limits, and available durability information |
| PVC | Dimensional badges on compatible gear and removable patch panels | More body and a nontextile feel; it still requires suitable exposure and care specifications | Thickness, attachment, flexible placement, and any documented weathering performance |
Ready to spec type, size, backing, and quantity? Open the quote form for a free 12-hour mockup and USA shipping after approval.
GET A FREE MOCKUPFor a bold replacement logo, you can request a free digital mockup through the embroidered patch options to see whether the lettering needs simplifying. That preview checks the design direction, not future fade resistance.
If gradients are essential, review printed patches for detailed artwork instead of forcing a shaded image into a few thread areas. The check that matters across all these choices is the same: match the material specification to the actual garment and exposure.
What should I change in the replacement design?
Improve contrast and remove fragile visual detail if normal wear has made the old patch hard to read. Those changes improve readability, but they don't establish better colorfastness.
Example: a club uses a 3-inch-wide woven badge with a narrow gray slogan on a dark background. If the slogan becomes difficult to see once the surface gets dirty or worn, increasing its visual separation from the background may be more useful than adding another decorative outline.
Don't simply darken every color. That can muddy the design and move it away from the approved brand artwork. Ask which physical yarn options are available, and review neighboring colors together rather than judging each one against a white screen.
Replacement size deserves care, too. A slightly larger badge may cover an old attachment footprint, but it can crowd a cap panel or sit across a jacket seam. Check the usable area on the actual garment in inches and note the existing patch's width, height, border, and attachment method.
If the existing design is already readable and the real problem is incompatible bleach, redesigning it is unnecessary. Correcting the care process and keeping the same construction may be enough.
What should I send when ordering replacement patches?
Send the original artwork, finished dimensions, quantity, garment details, and clear photos of the worn patch. Include its exposure and care history so the replacement addresses the likely cause instead of merely copying the old appearance.
USA Customized Patches has a 10-piece minimum. A free digital mockup is provided in about 12 hours, and production starts only after written approval. Quotes are available 24 hours a day, 7 days a week.
- Identify the use case: outdoor work jacket, indoor team polo, structured cap, club vest, or removable gear badge.
- Provide the artwork and finished width and height in inches. Include a physical reference if matching an existing badge matters.
- Specify the preferred material, border, and backing, or explain the problem you want the replacement to solve.
- Describe laundering, cleaning products, sun exposure, and contact from straps or equipment.
- Review the mockup for spelling, layout, dimensions, colors, border, and backing notes. Resolve unclear specifications before giving written approval.
- Confirm the production schedule, shipping destination, and required arrival date separately.
The typical production timeframe is 7–12 business days; confirm the schedule for the specific order rather than treating that range as an arrival promise. USA Customized Patches ships from Corona, CA, to all 50 states. Review the United States shipping information when planning around a uniform handout or club event.
Replacement cost depends on the specifications and quantity, so request an itemized quote in dollars rather than assuming woven or embroidered will always cost less. Check what the quote includes and whether the artwork requires a construction change.
If you're unsure what to keep from the old design, send the photos and garment details through the patch specification contact page and ask for a free digital mockup before committing to the replacement layout.
What is this fading advice based on?
This advice rests on the patch production process, the mockup review step, and the material, border, backing, and garment details recorded in an order. It isn't a laboratory diagnosis of a particular patch or a promise about its service life.
In our production experience, an appearance complaint is easier to investigate when the original specifications and care history are available together. A photo can show a wear pattern. It cannot, by itself, establish the yarn's composition, the cleaning chemistry involved, or a tested lightfastness rating.
A digital mockup is a design preview that shows the proposed layout before production. It helps catch spelling, sizing, and placement problems, but it doesn't test how a physical patch will respond to repeated sunlight or washing. If documented colorfastness is a requirement for your uniform program, ask about relevant testing before approving the order.
Keep the approved artwork, written specifications, and care instructions with the order record. If appearance changes later, photograph the patch before trying a treatment and save an unused badge for a same-light comparison.